FMX - Model Rocket Beacon


|
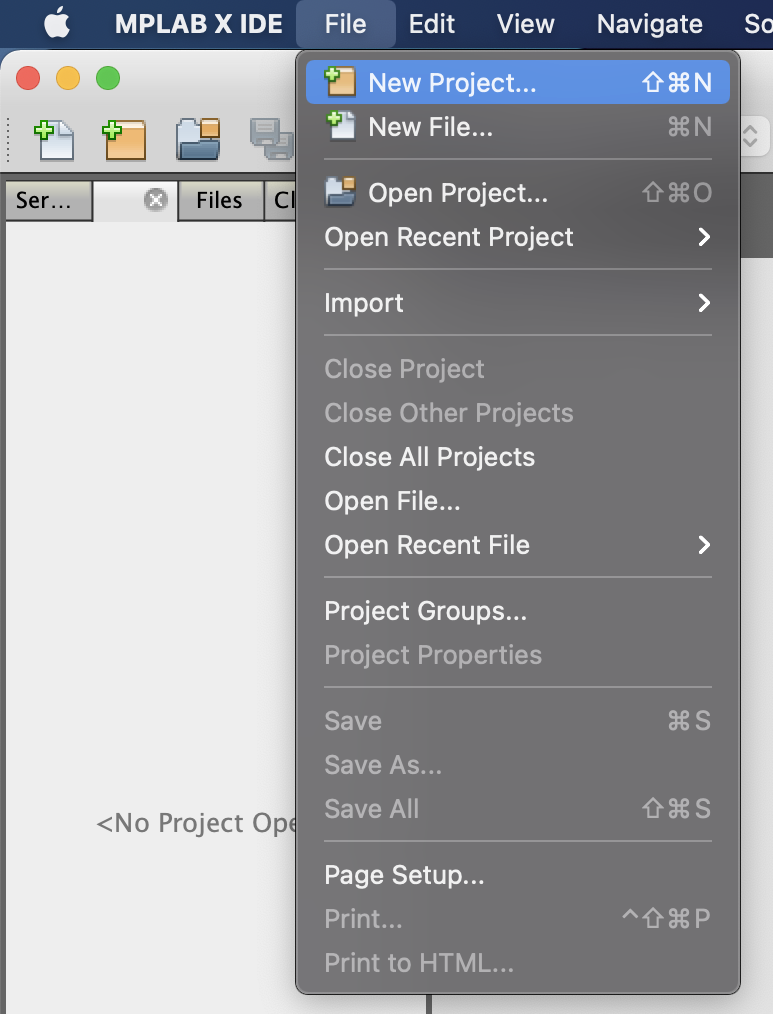
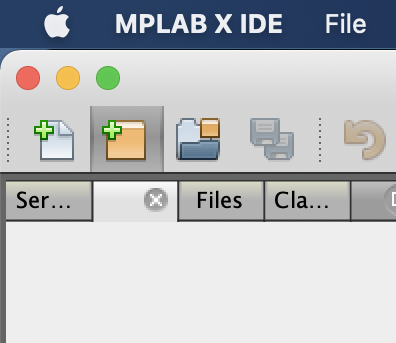
Open MPLAB X IDE. Start a new project: select > File > New Project from the menu or click on the the new project icon (yellow folder with a green plus) |
|
|
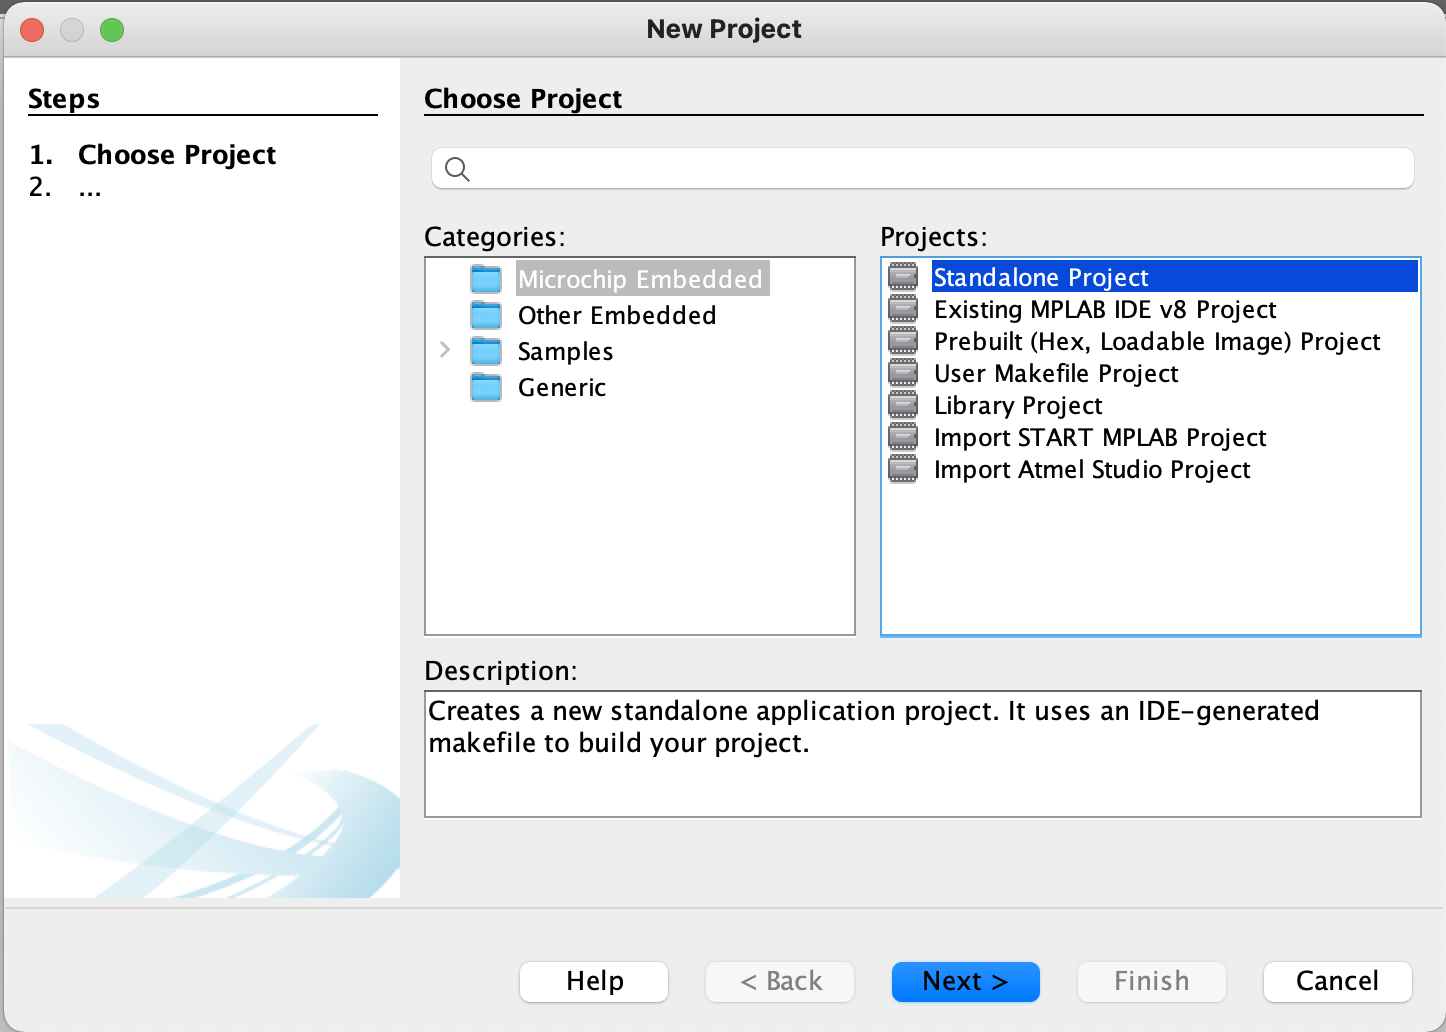
Choose new project catagory: Microchip Embeded and project: Standalone Project Then click the Next button. |
|
|
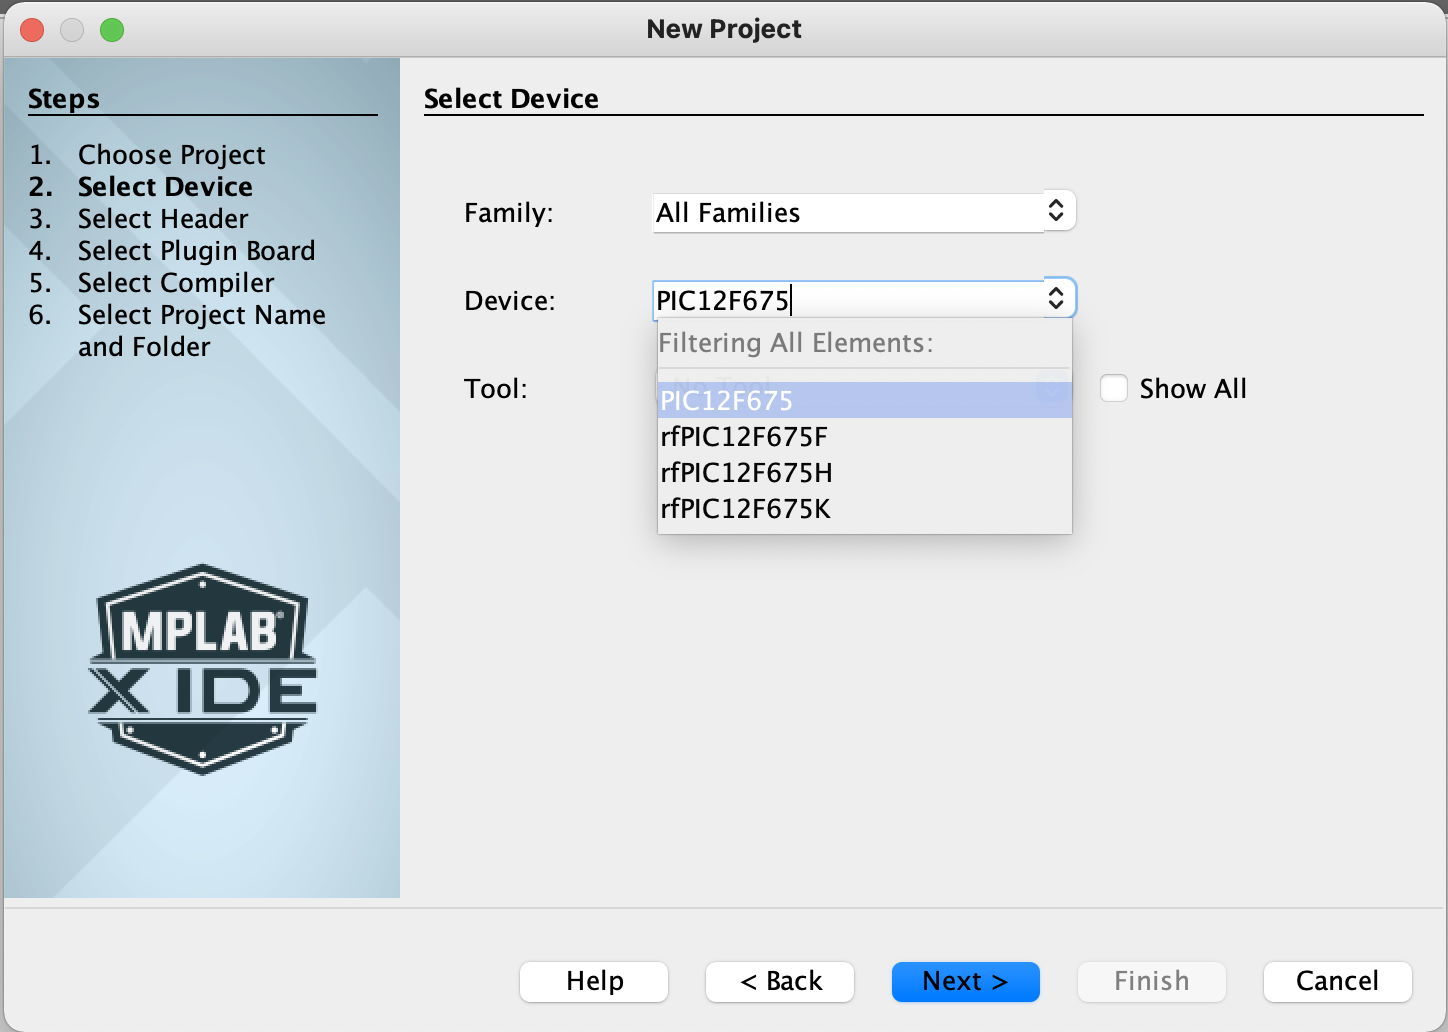
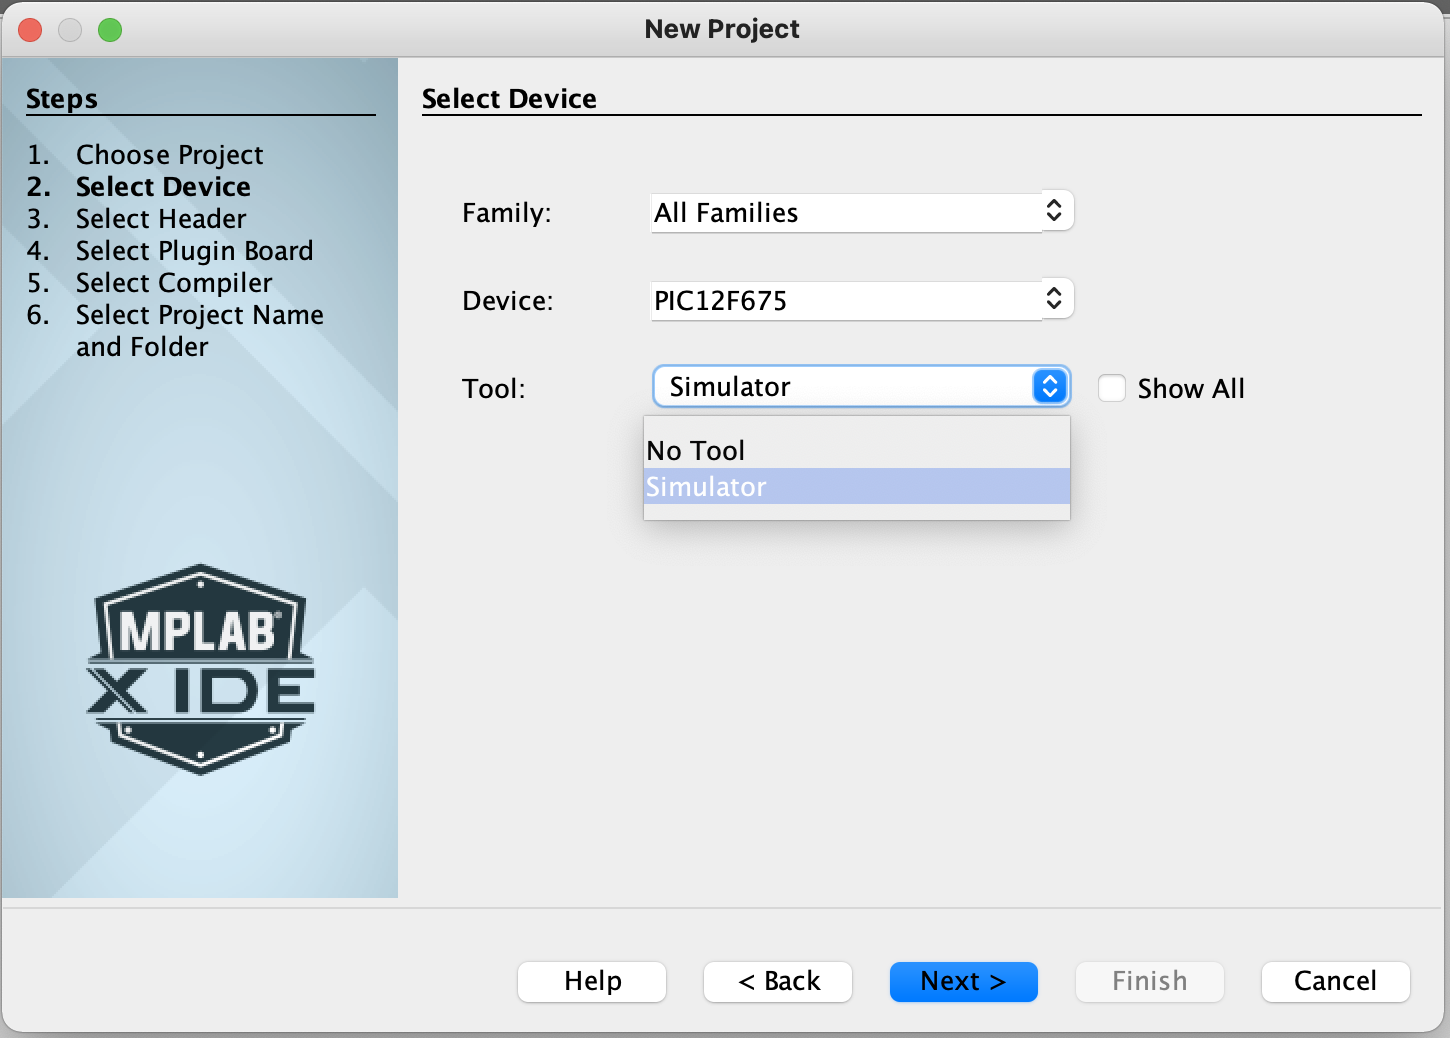
For device type the name of the chip "pic12f675". Then select simulator, and click the Next button. |
|
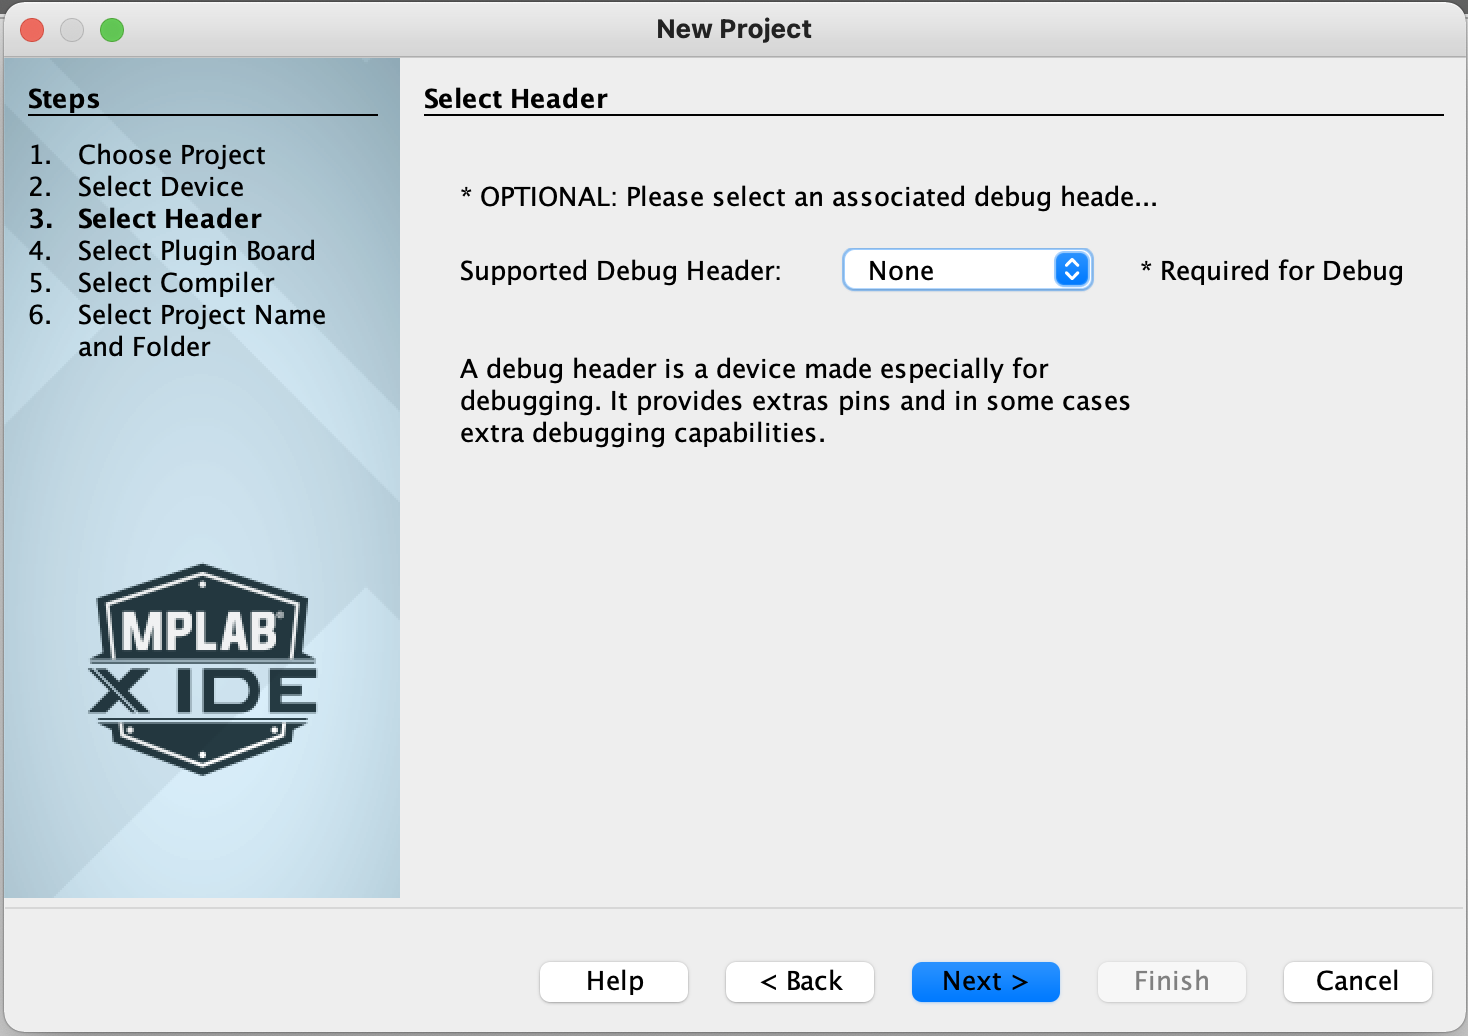
| Choose no debug header: none. |
|
|
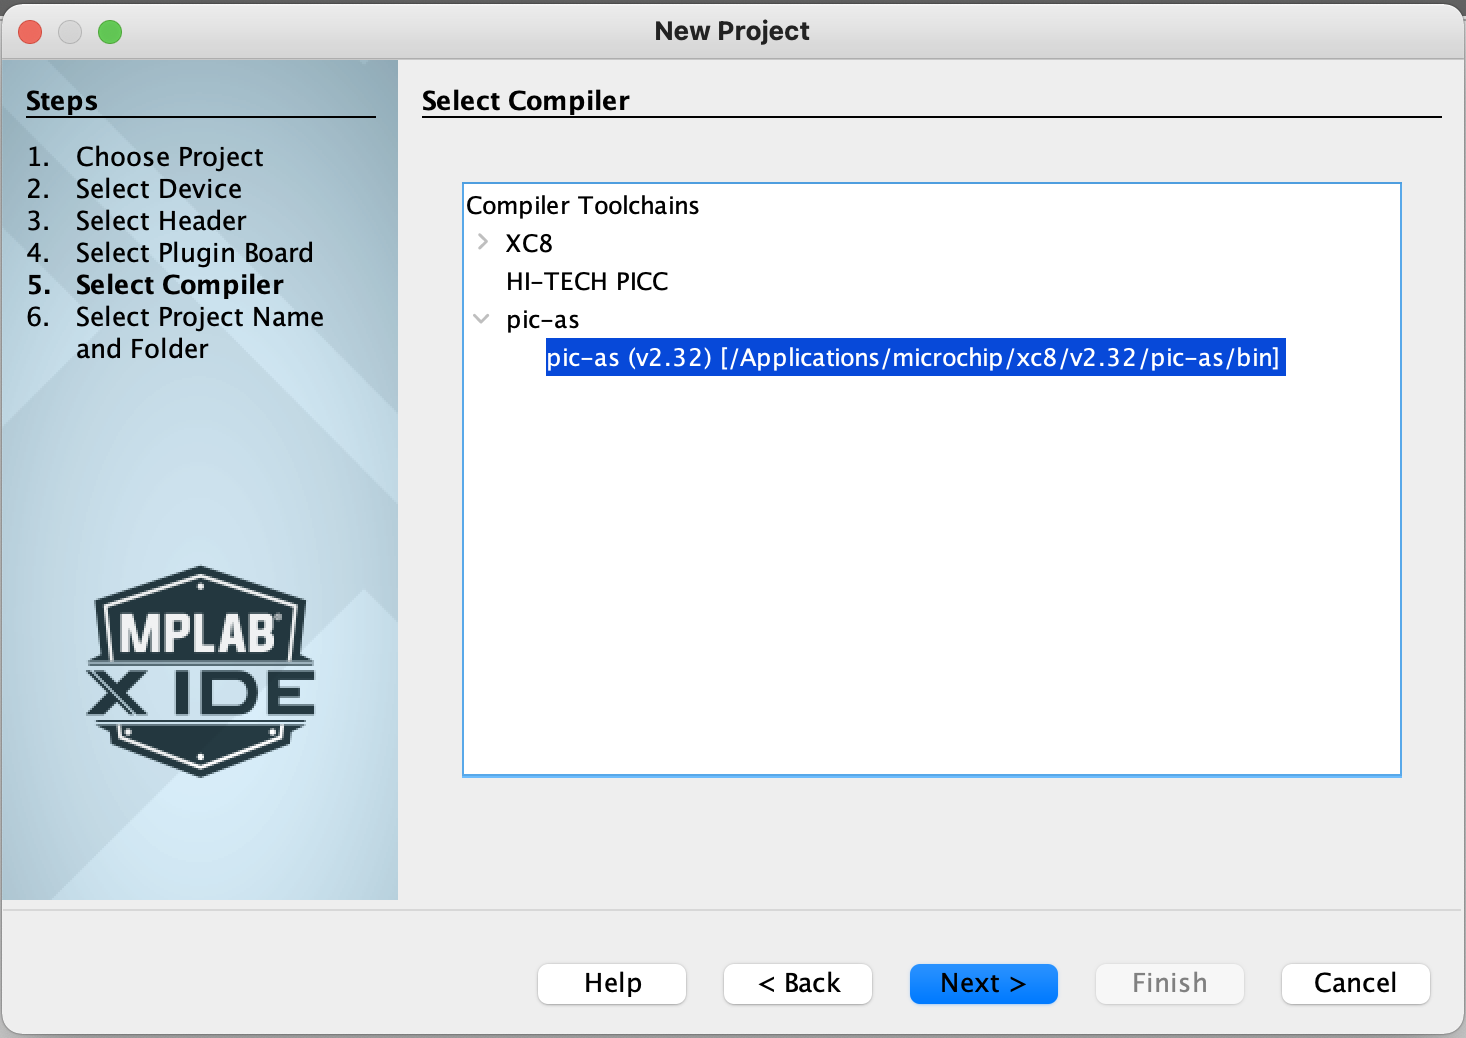
Select the compiler: "pic-as (v2.32) [Applications/micrchip/xc8/v2.32/pic-as/bin]" and click the Next button. |
|
|
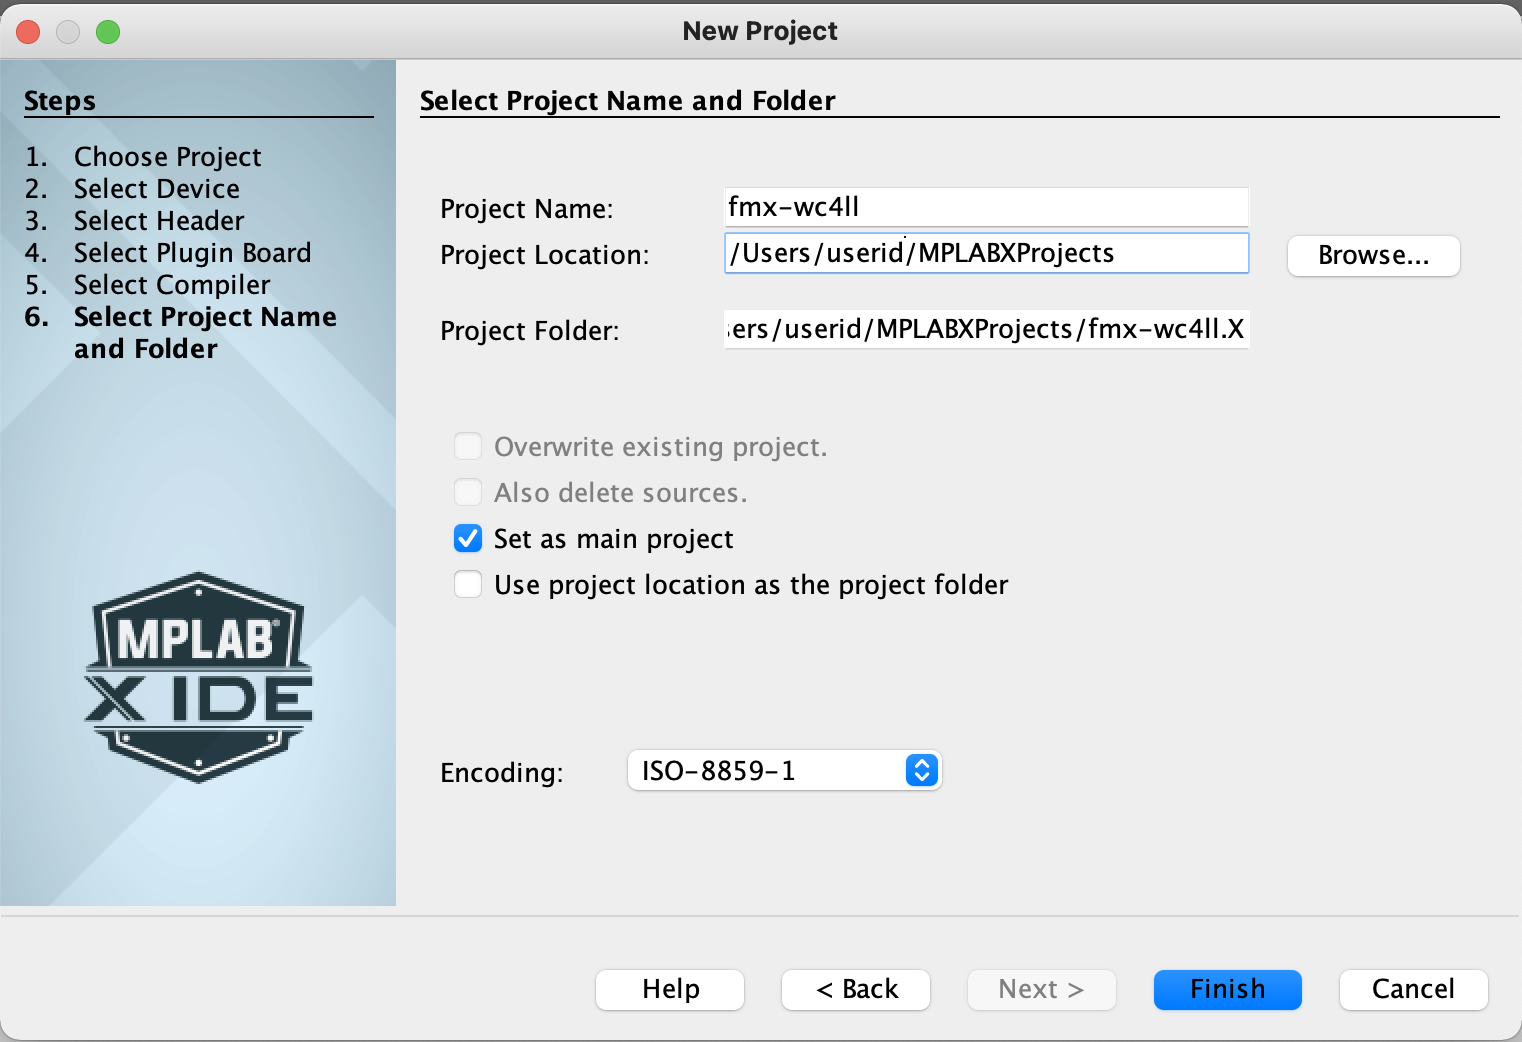
Select the project name. Use fmx-<your_call_sign>. In this example we use the call sign WC4LL, and the project name fmx-wc4ll. Click the Finish button. By default the project is created under your home directory and under a directory called MPLABXProjects. |
|
|
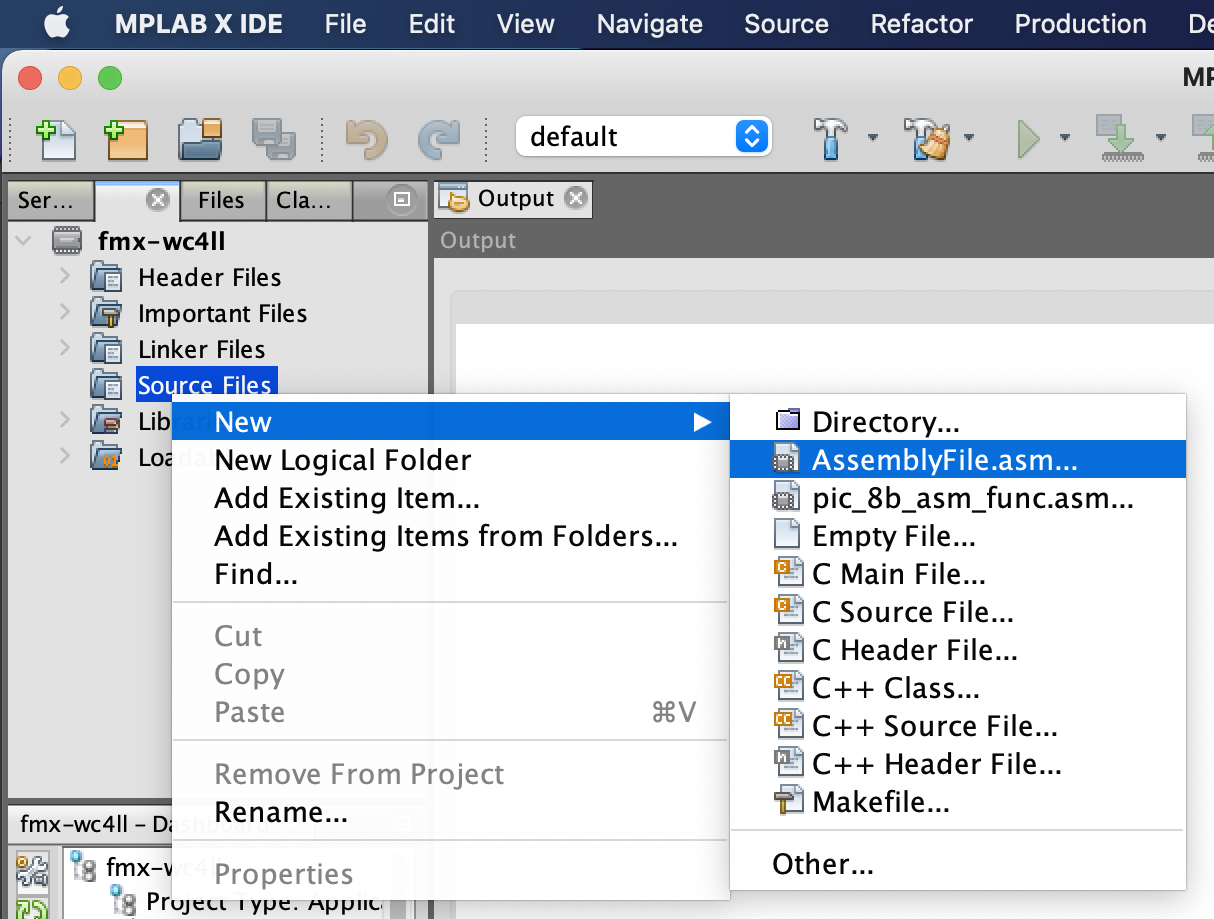
Right click on Source files. Choose New > AssemblyFile.asm. |
|
|
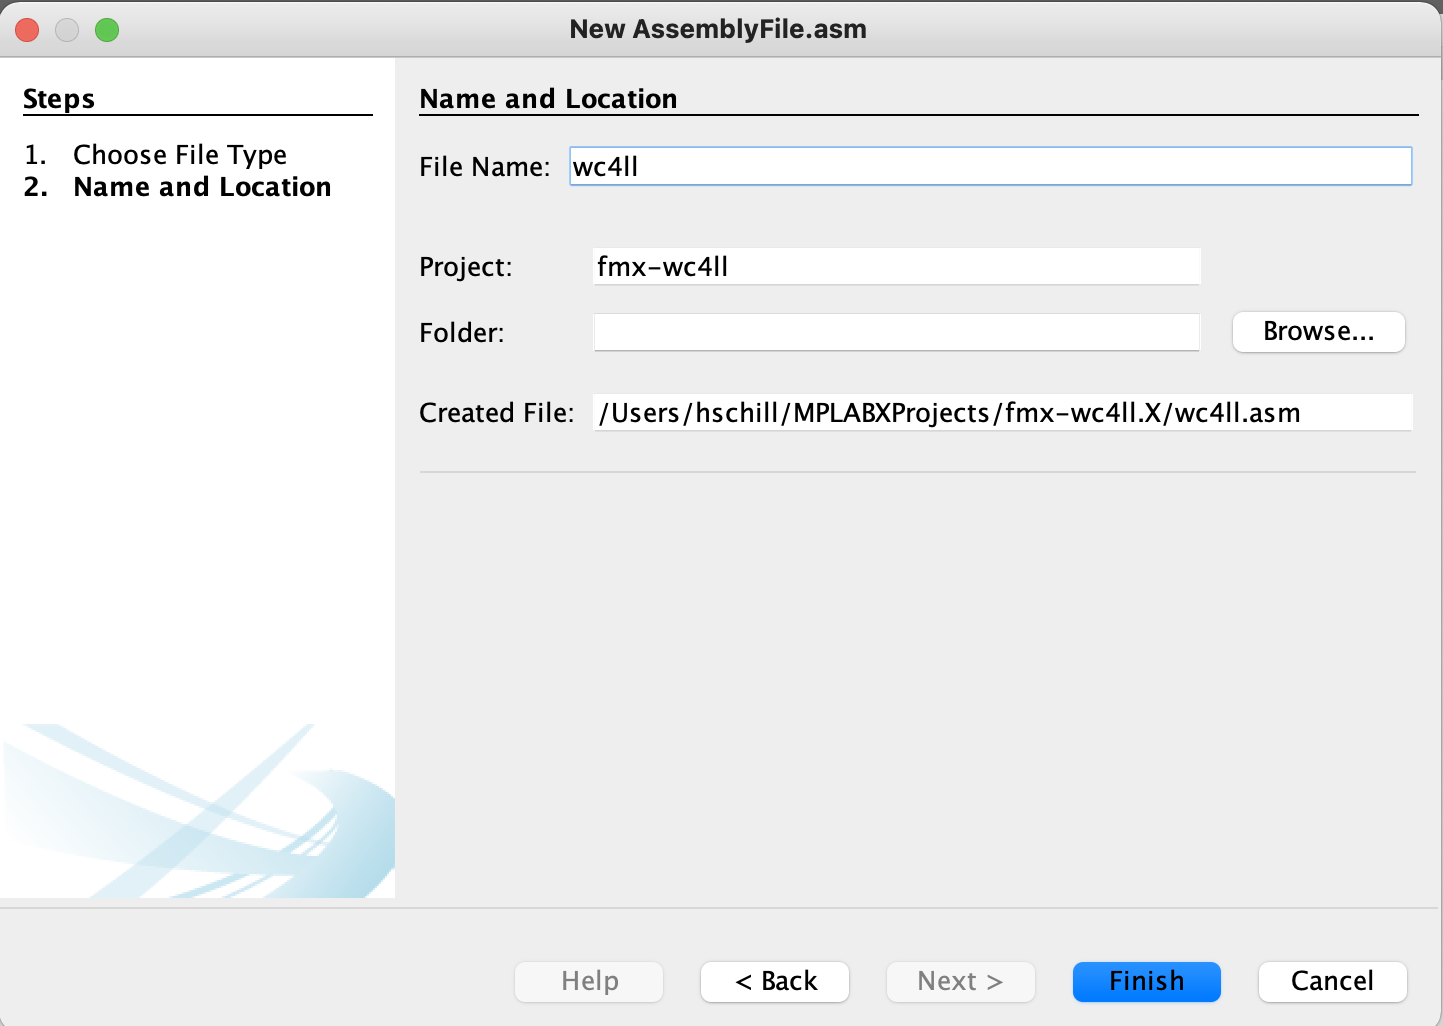
Name the file fmx-<Your_Call_sign>. In our example we use fmx-wc4ll. Click the Finish button. |
|
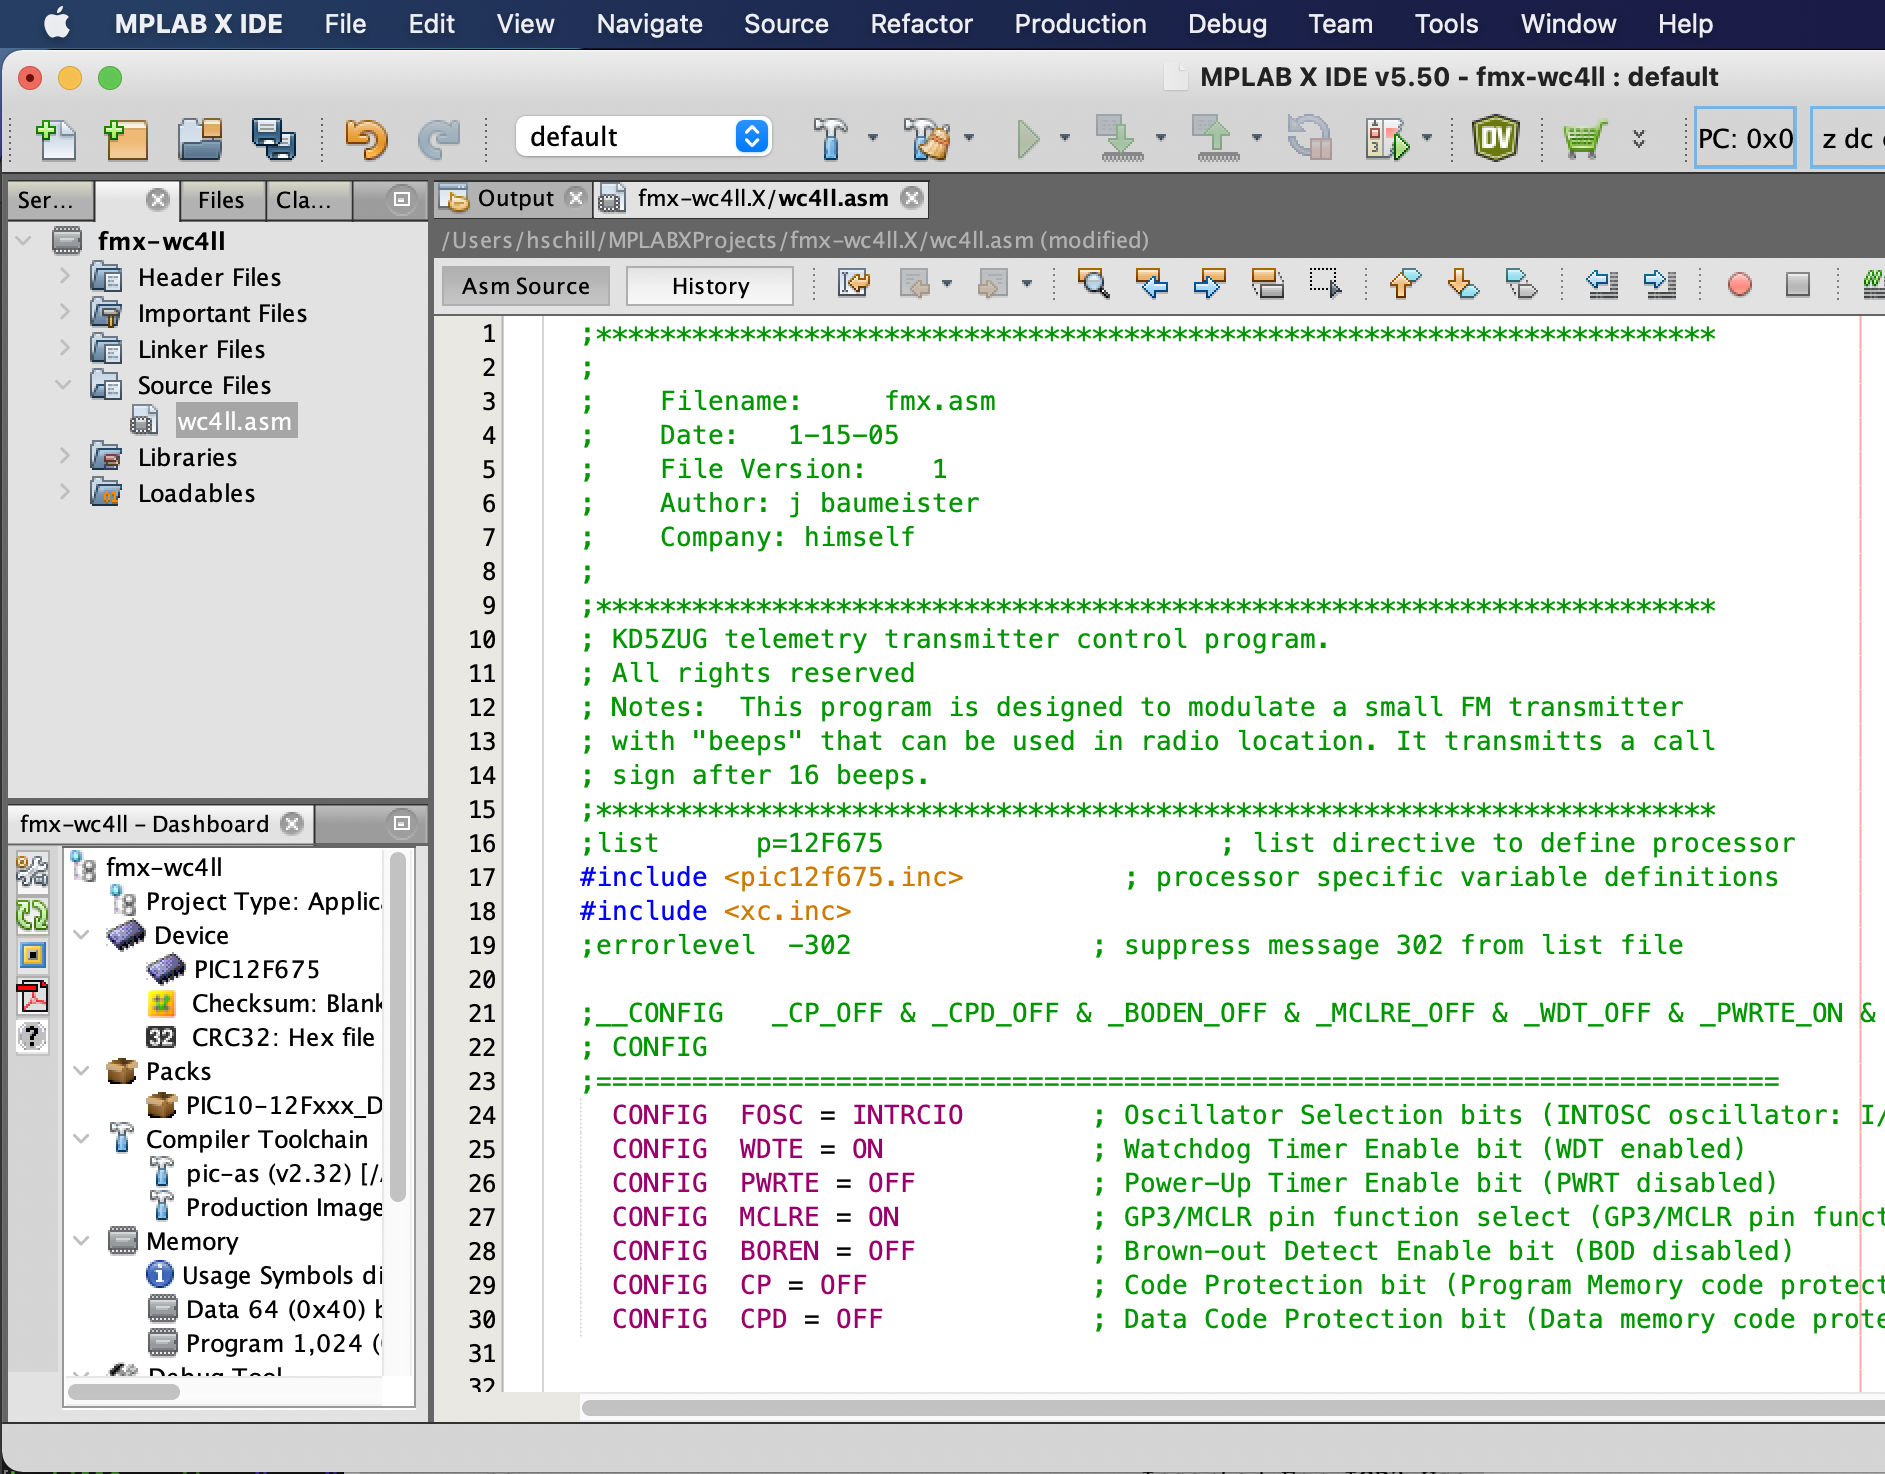
| Paste in the raw text of the assembly code. |
|
|
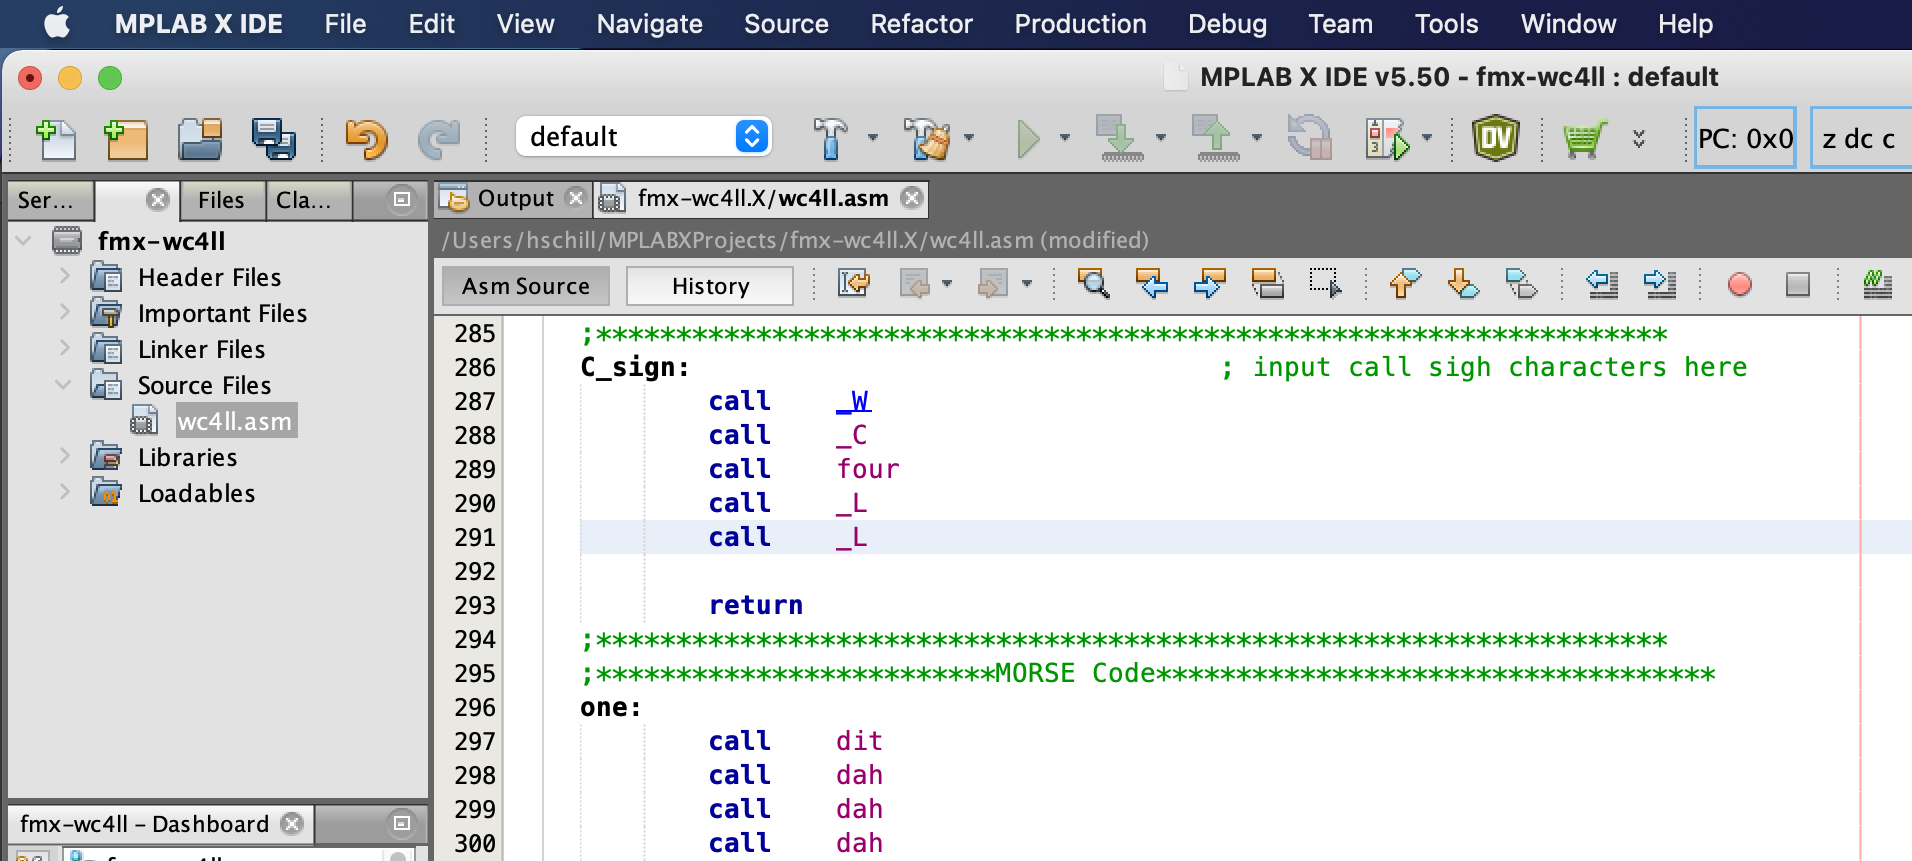
Scroll down to line 286 where the call sign is configured. Replace the three lines: call _F call _M call _X With your call sign. In this example: call _W call _C call four call _L call _L |
|
|
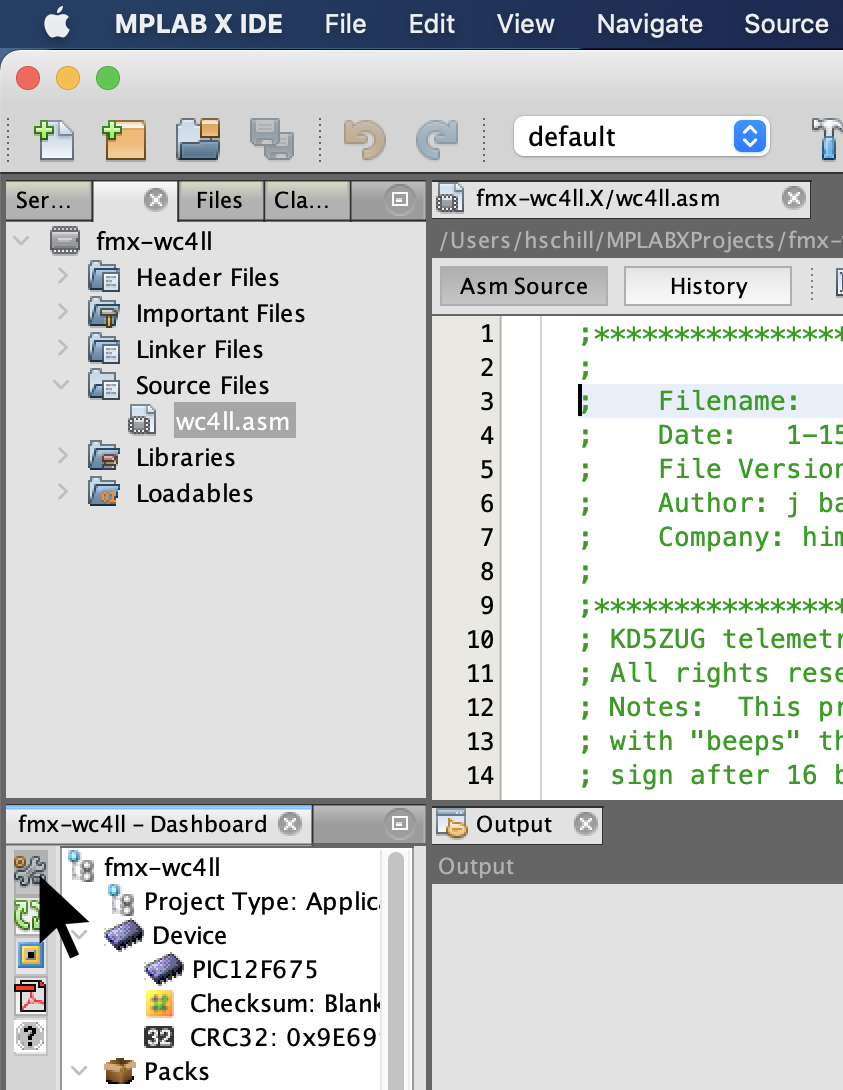
Click on the configure button (a Wrench with a nut and bolt) |
|
|
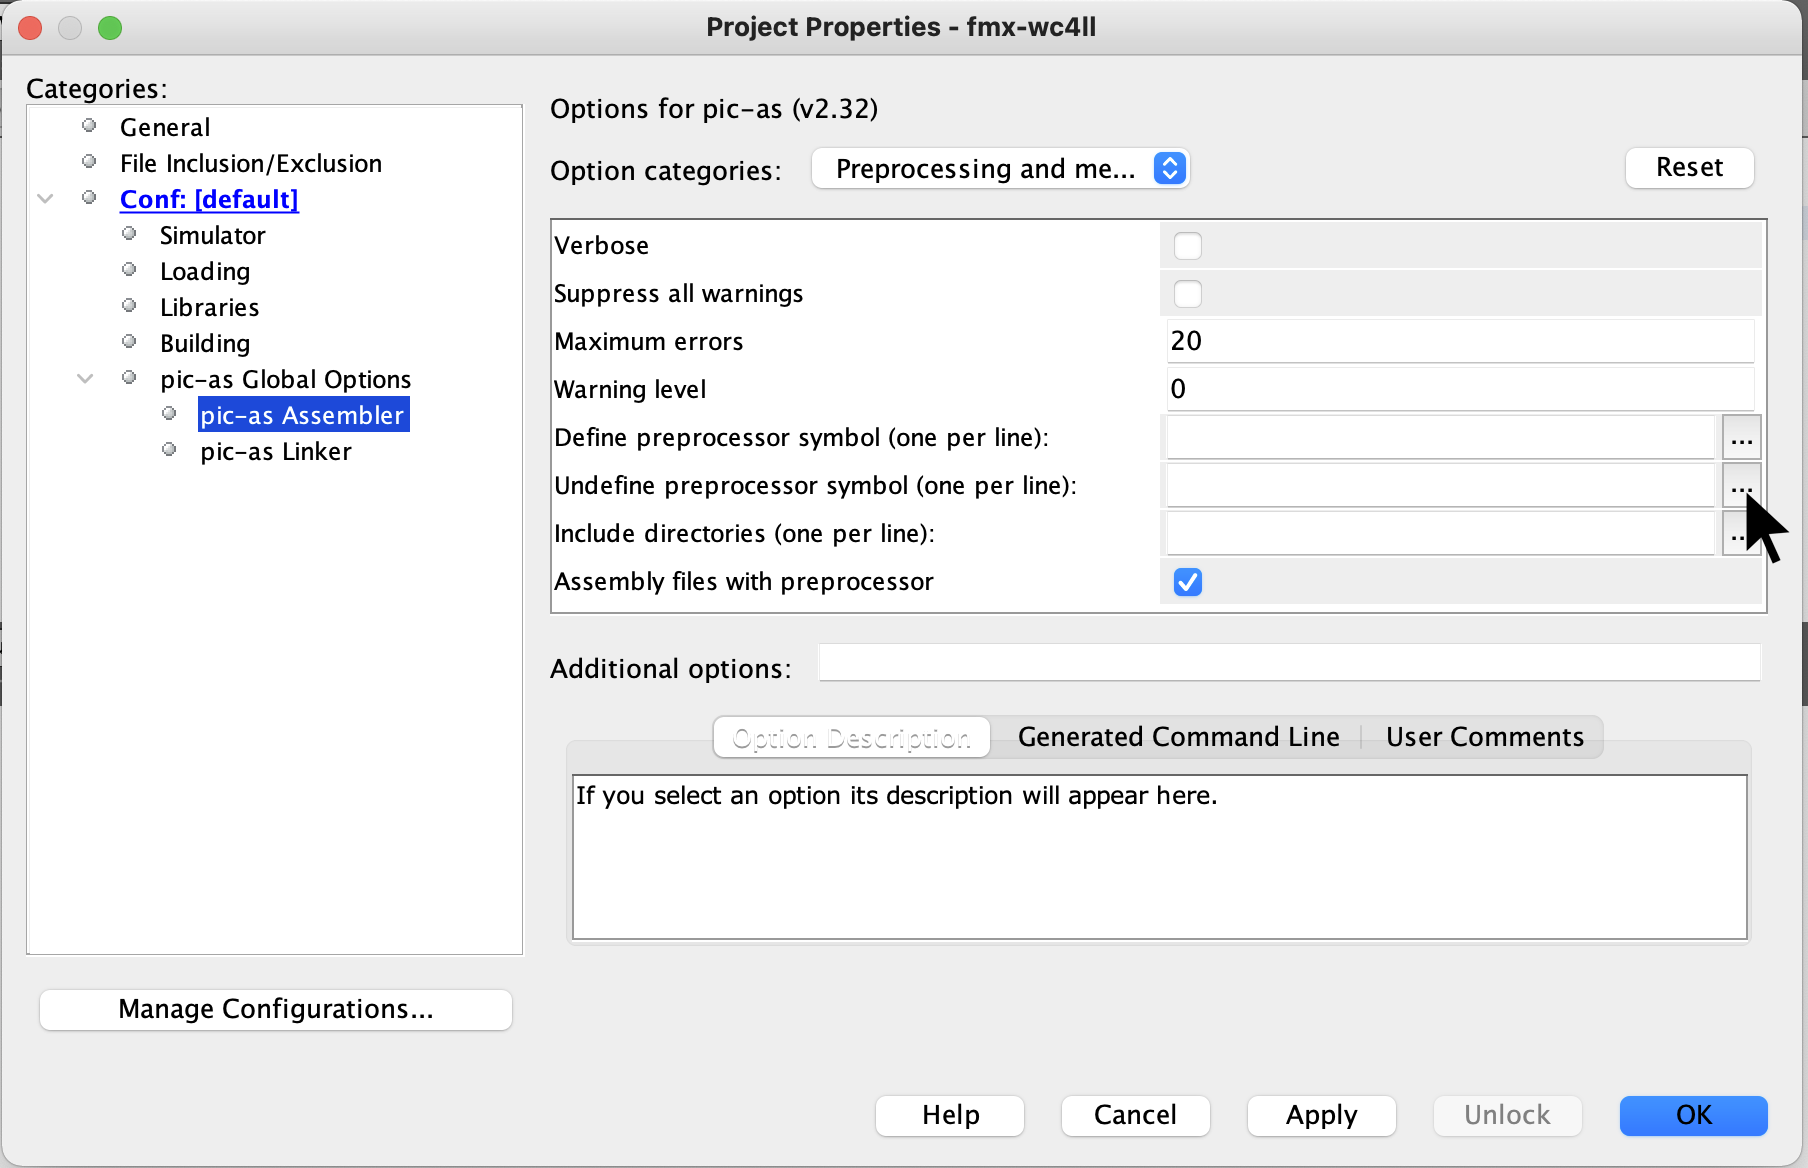
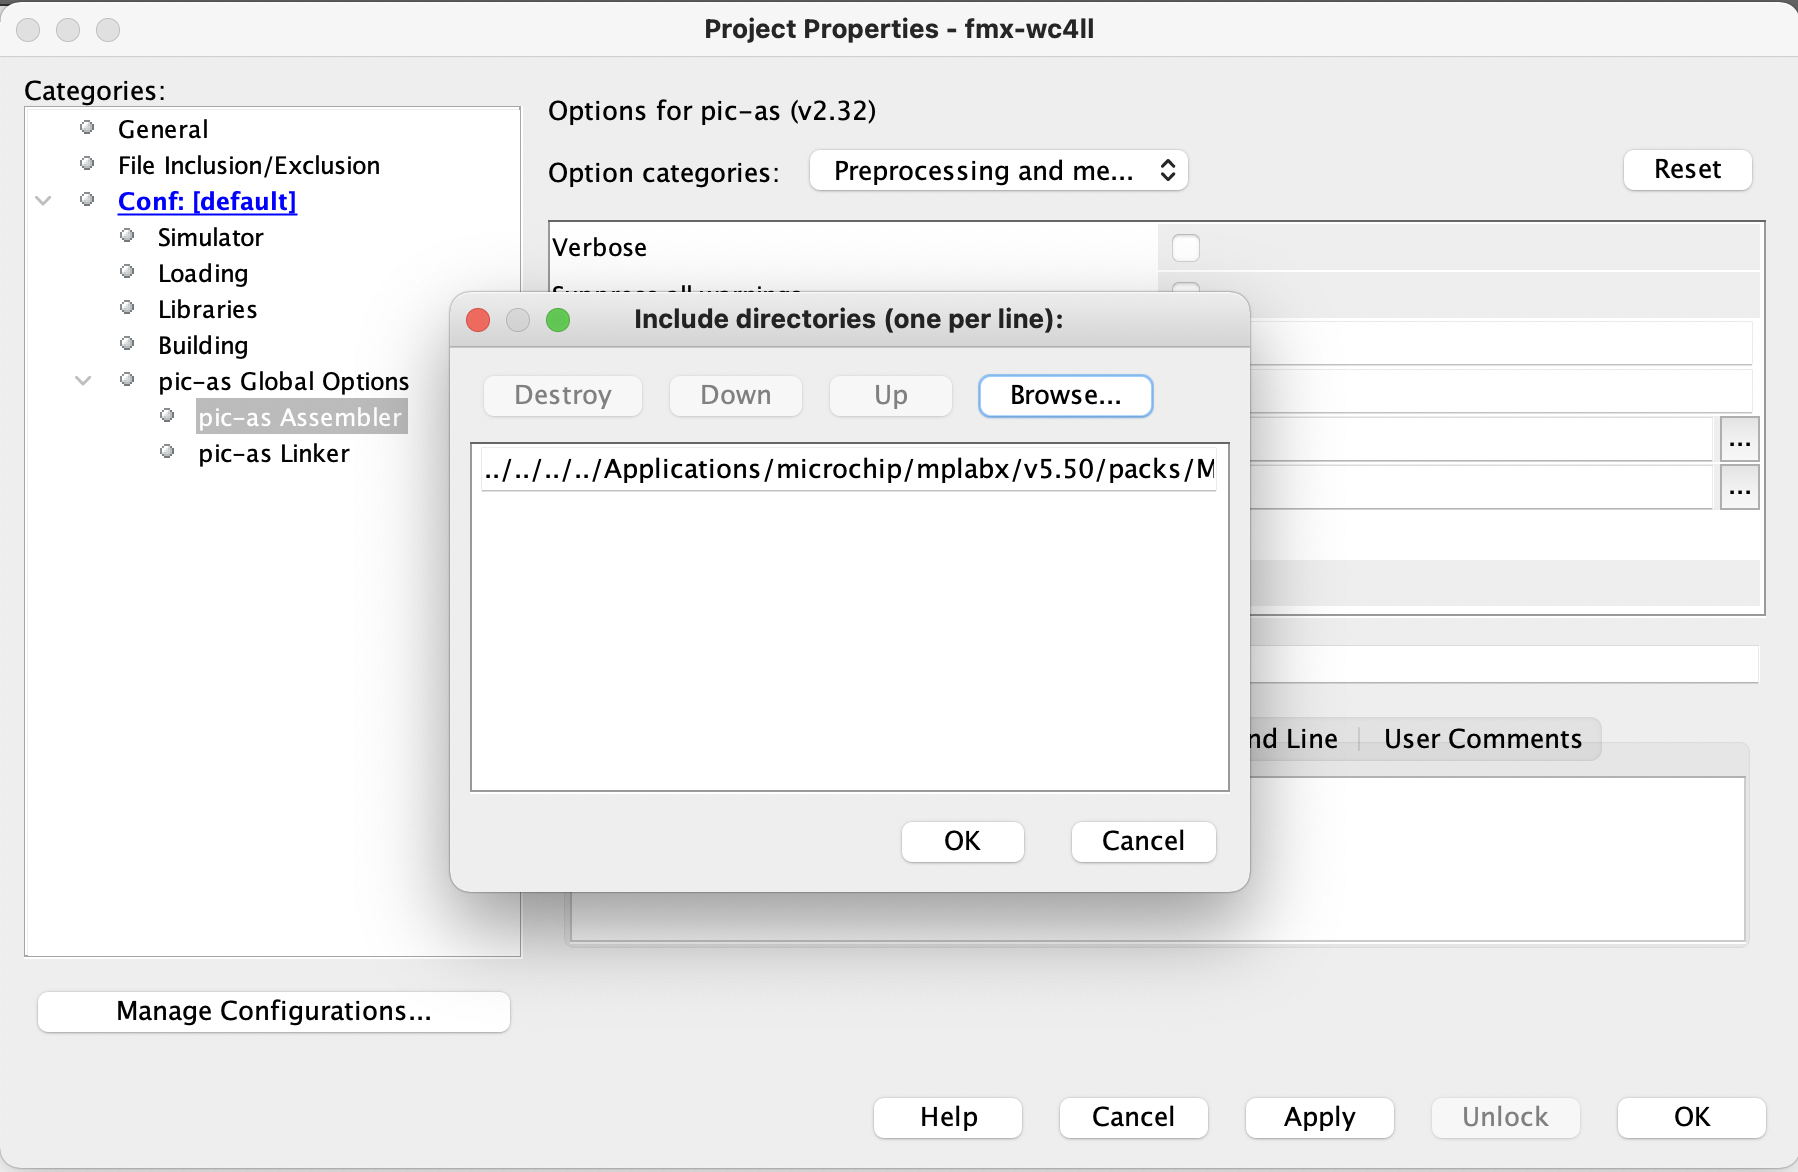
Click on pic-as Assembler. And the include directories. (the icon has three dots) |
|
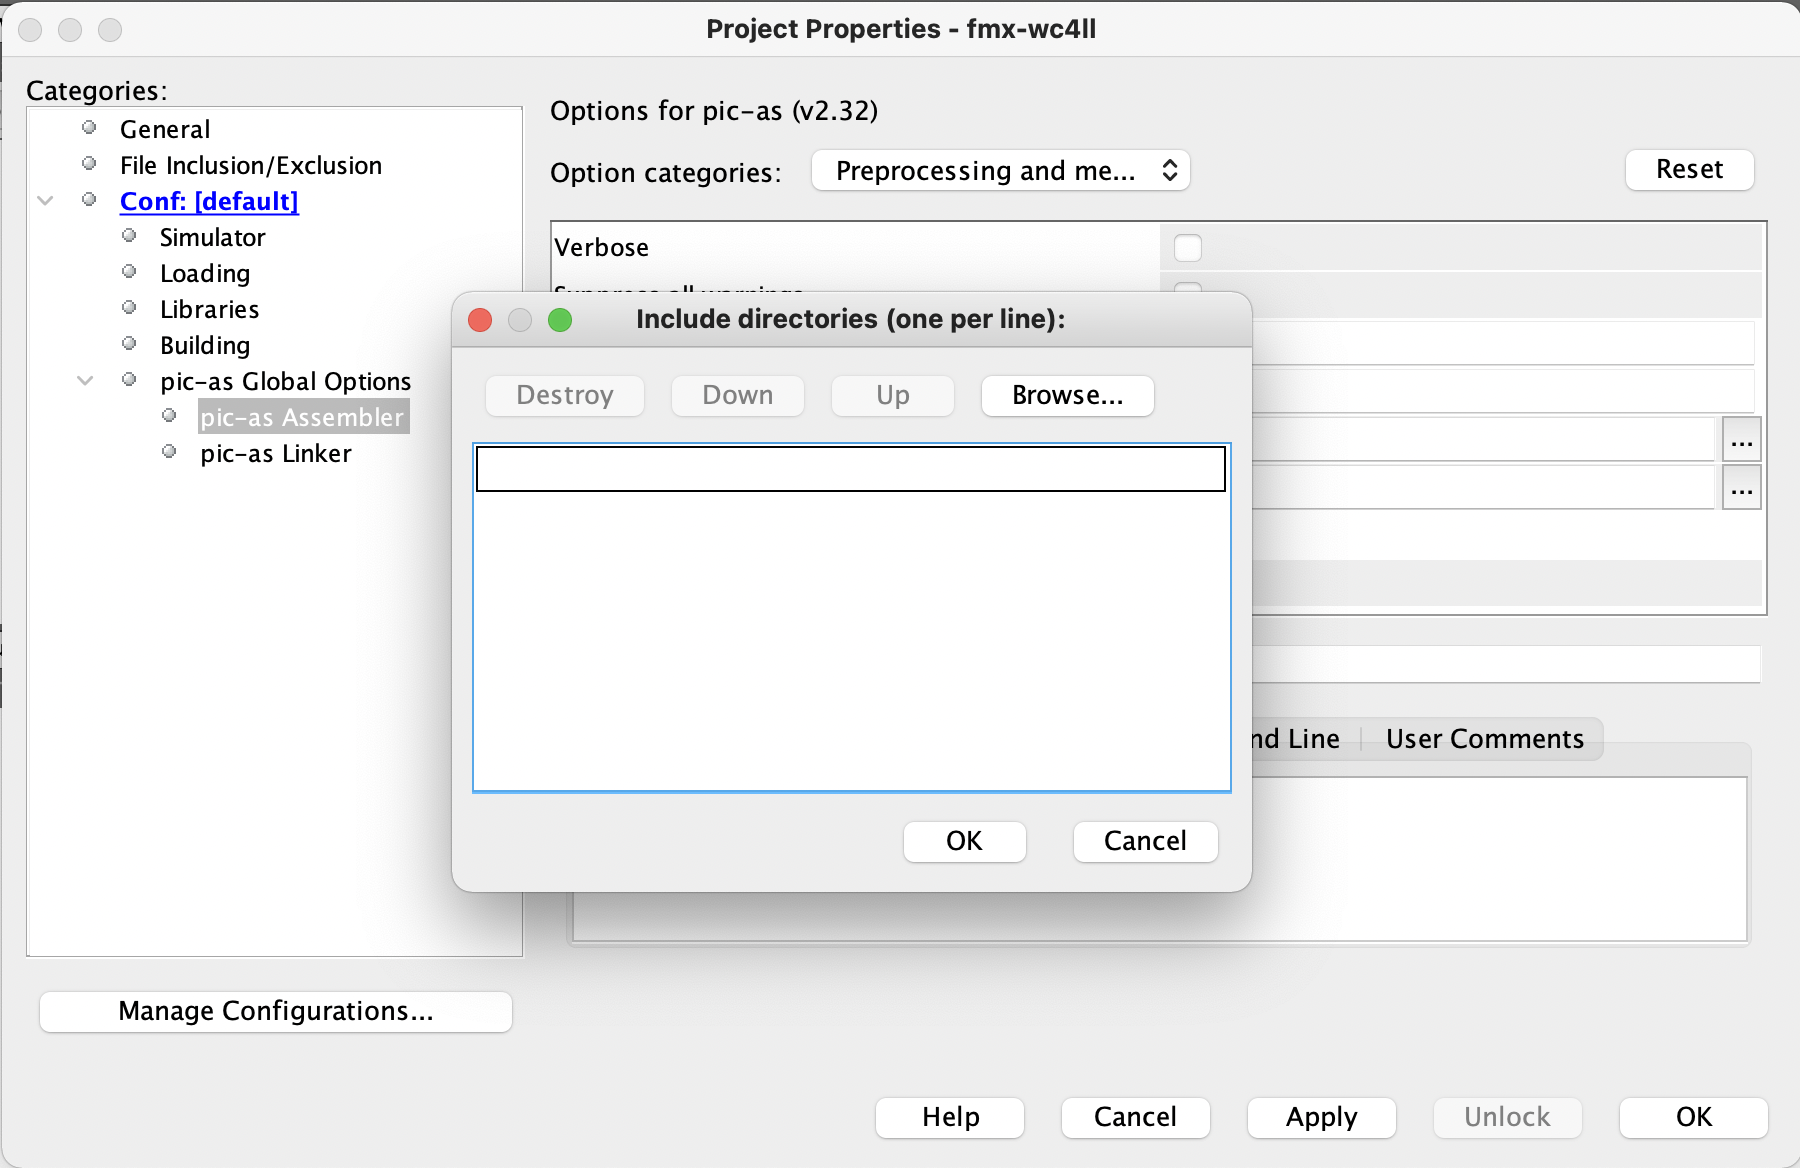
| click the Browse... button. |
|
|
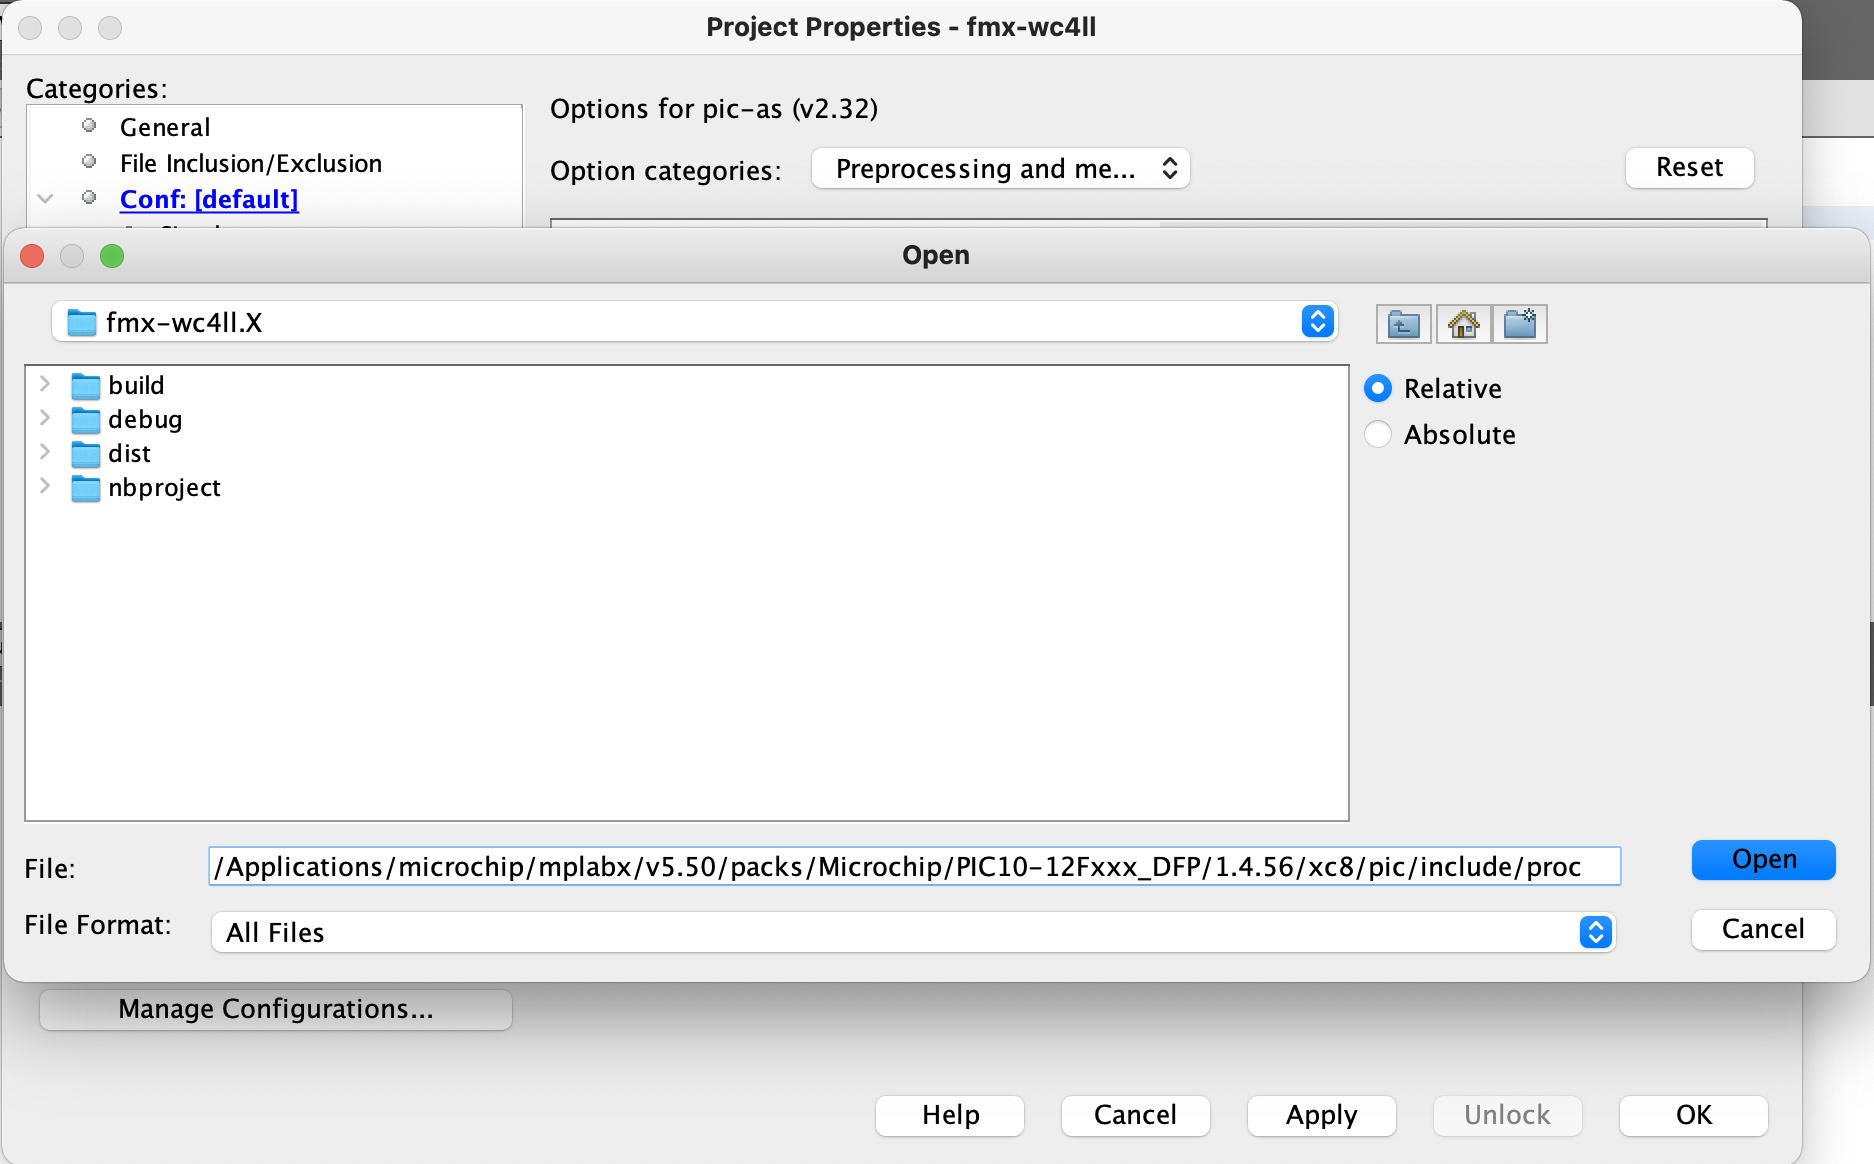
Set the include directory as: /Applications/microchip/mplabx/v5.50/packs/Microchip/PIC10-12Fxxx_DFP/1.4.56/xc8/pic/include/proc and click the Open button |
|
|
then click the OK button. to accept the order of the newly configured path |
|
|
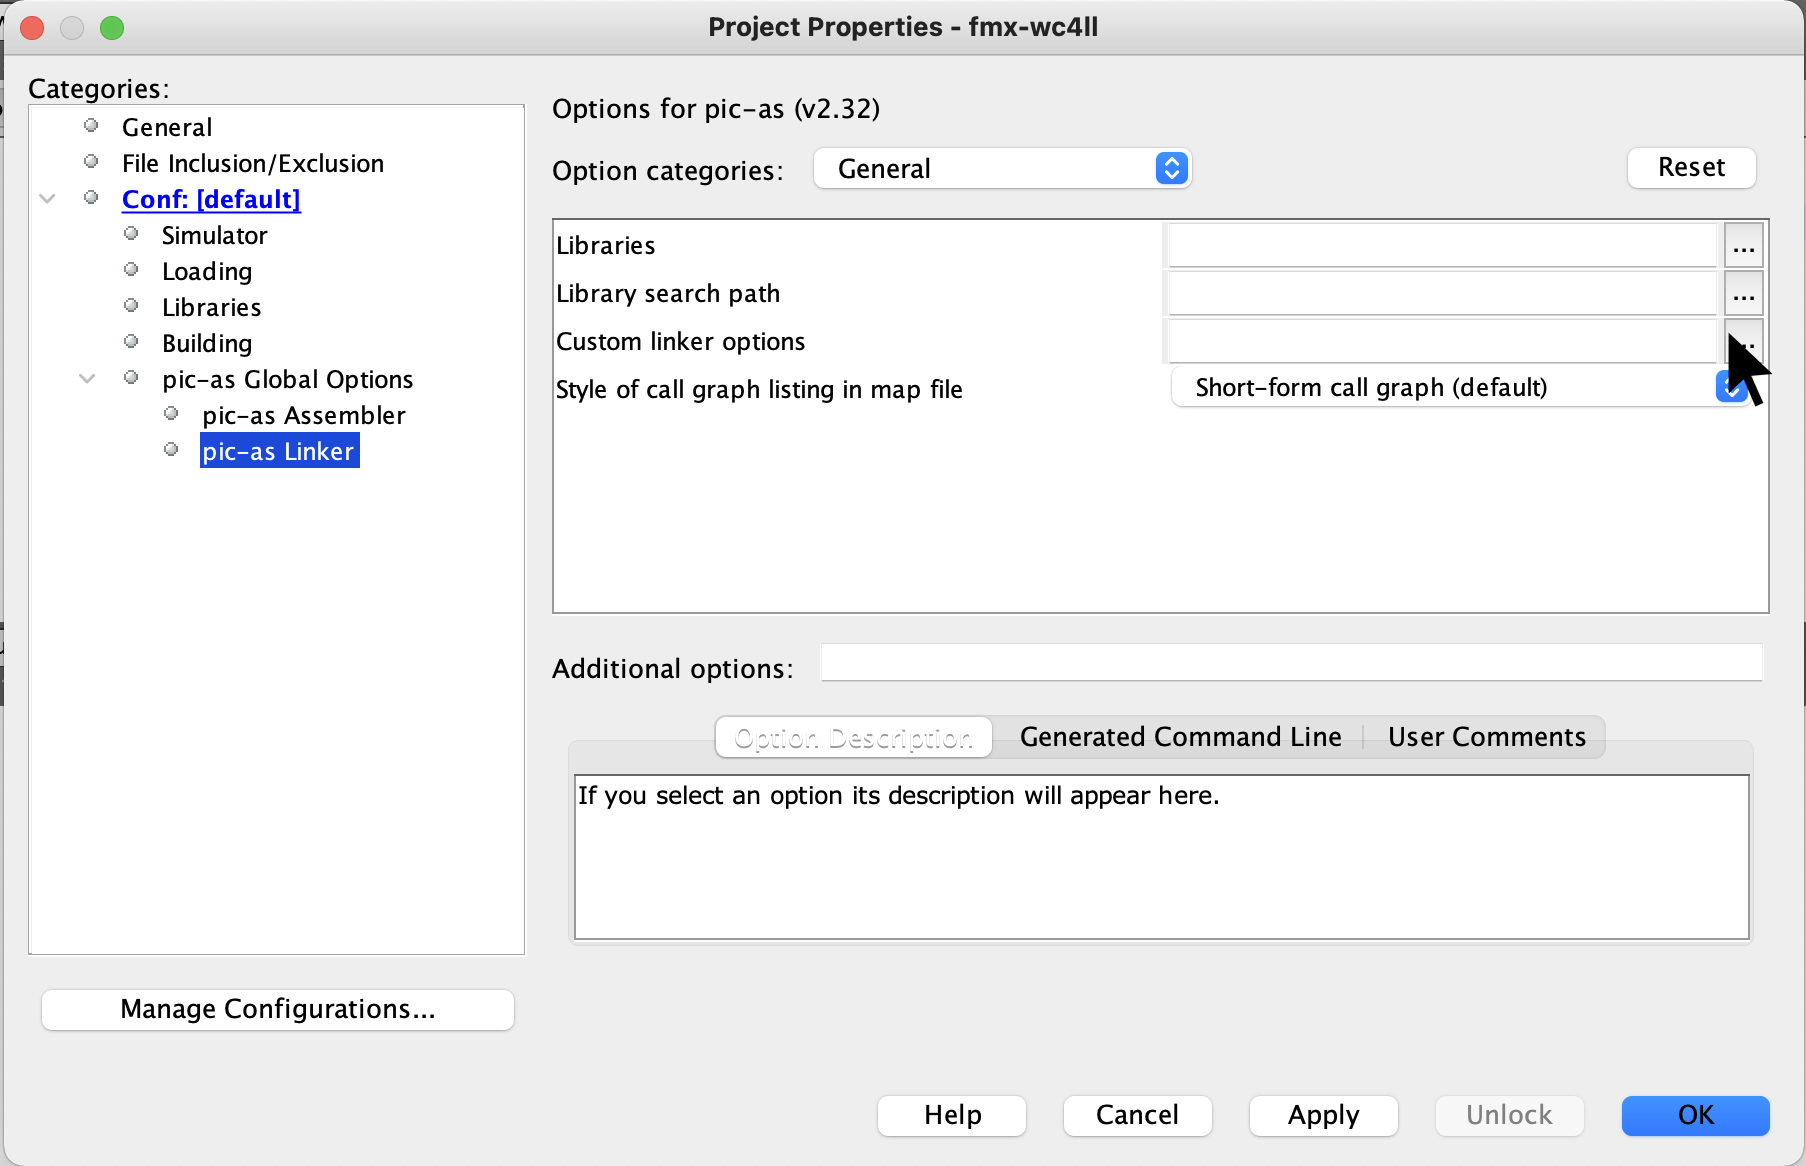
Click on pic-as Linker. And the custom linker options. (the icon has three dots) |
|
|
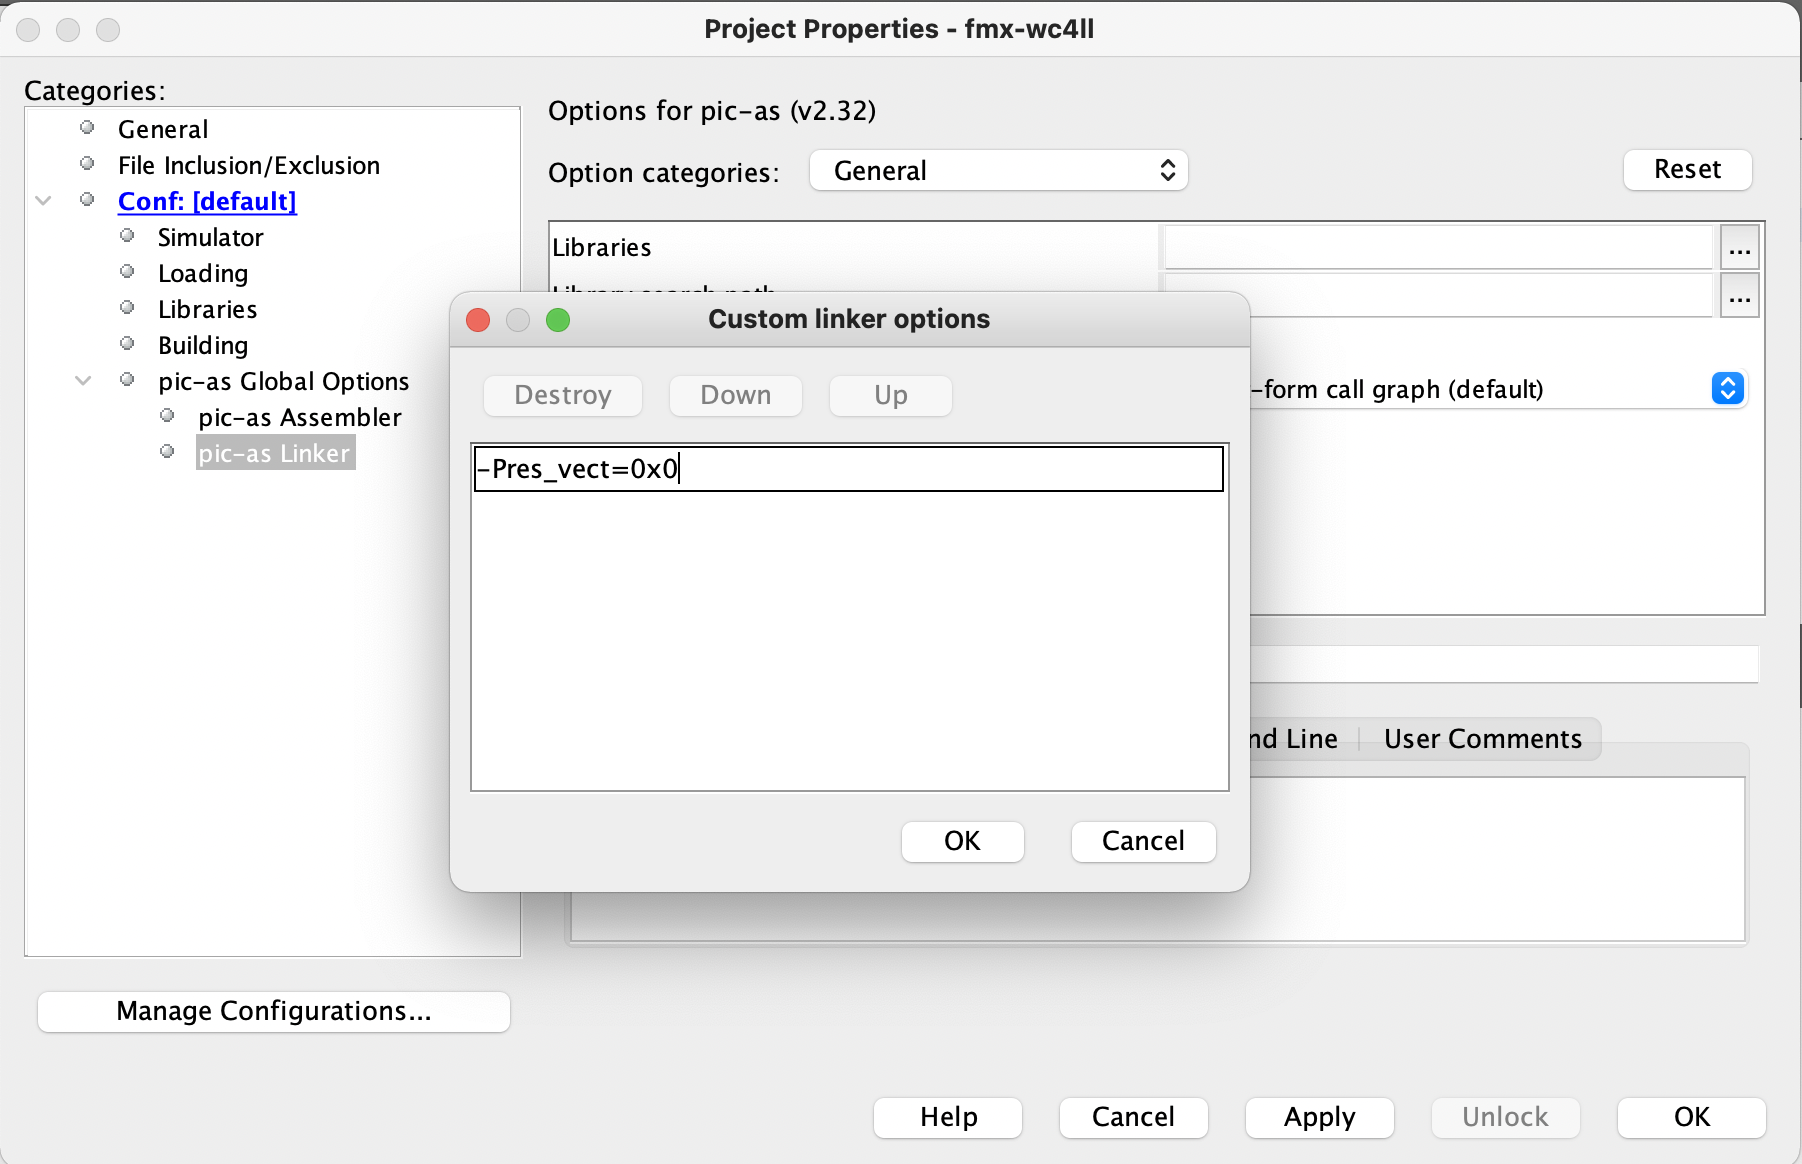
set the customer Linker options to: -Pres_vect-0x0 and click the OK button. |
|
|
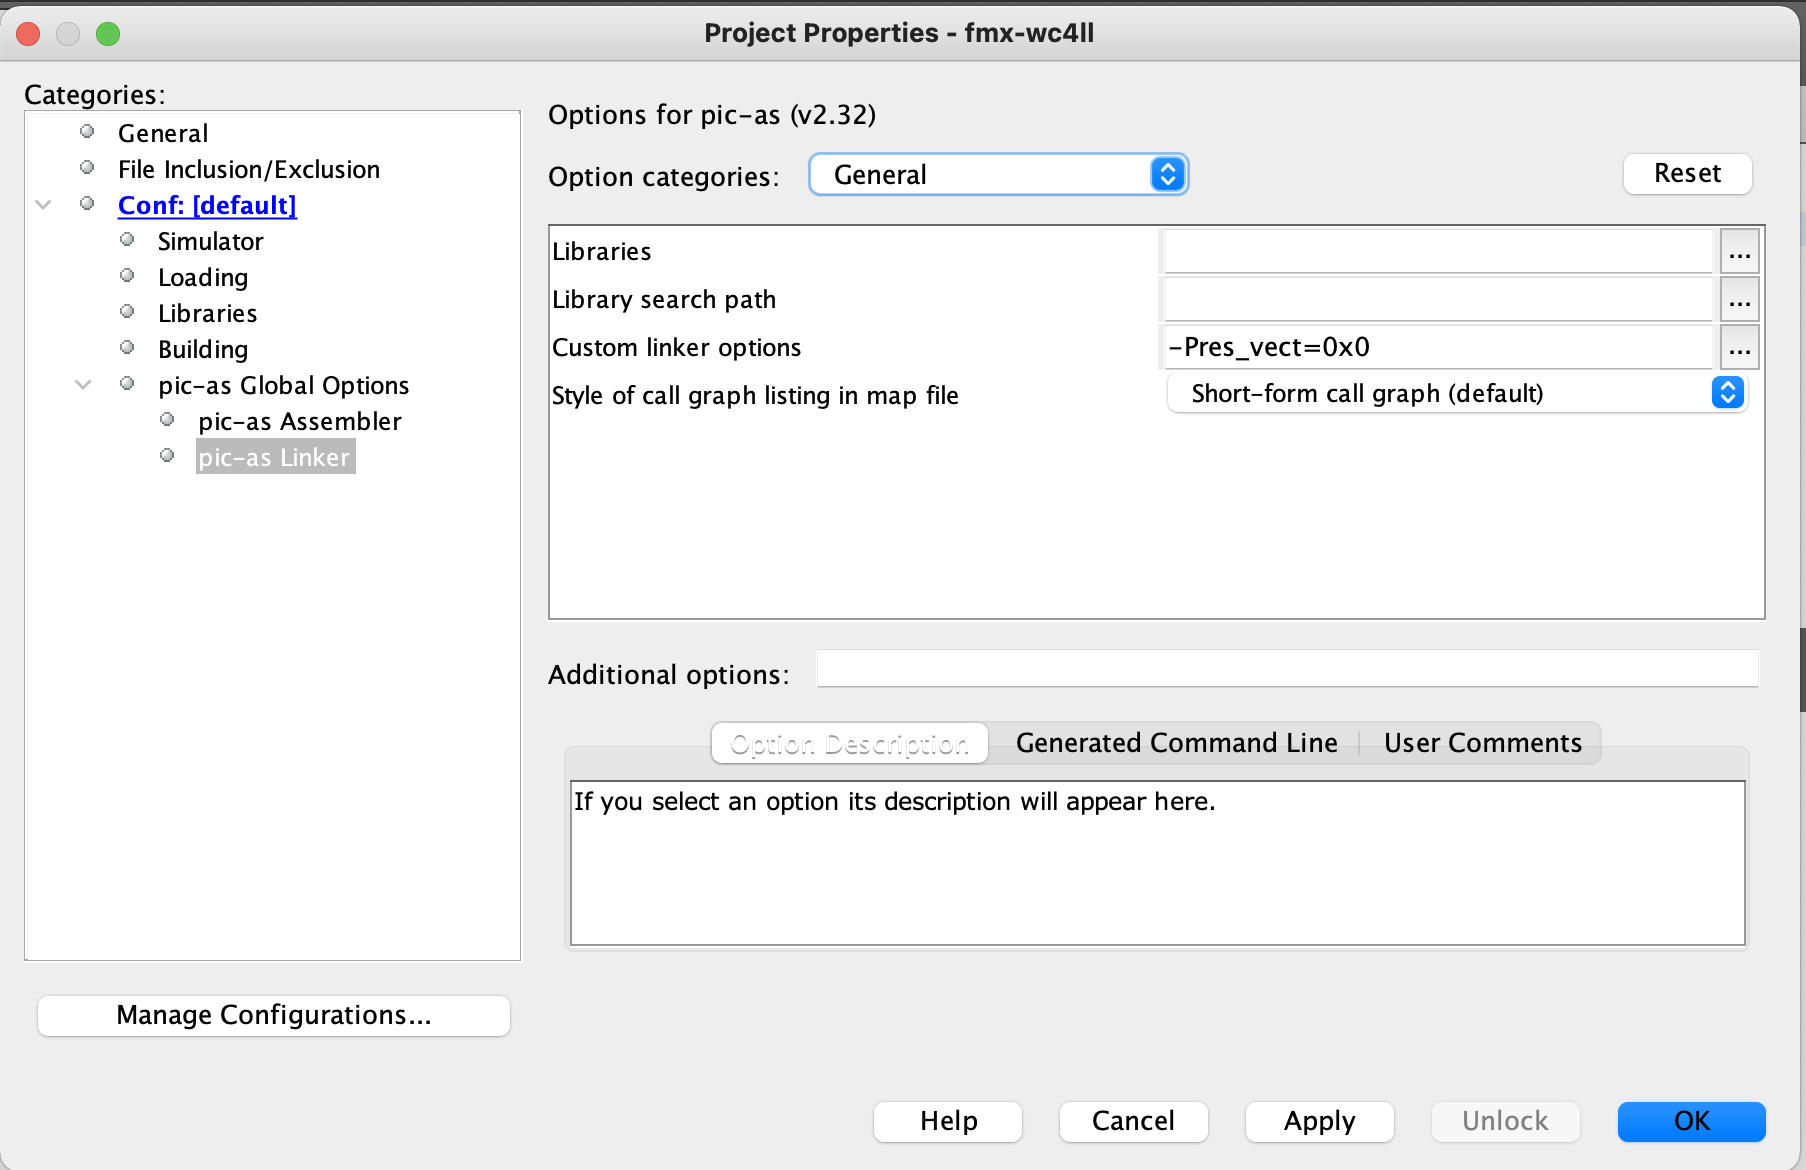
click the OK button. to accept the newly configured changes. |
|
|
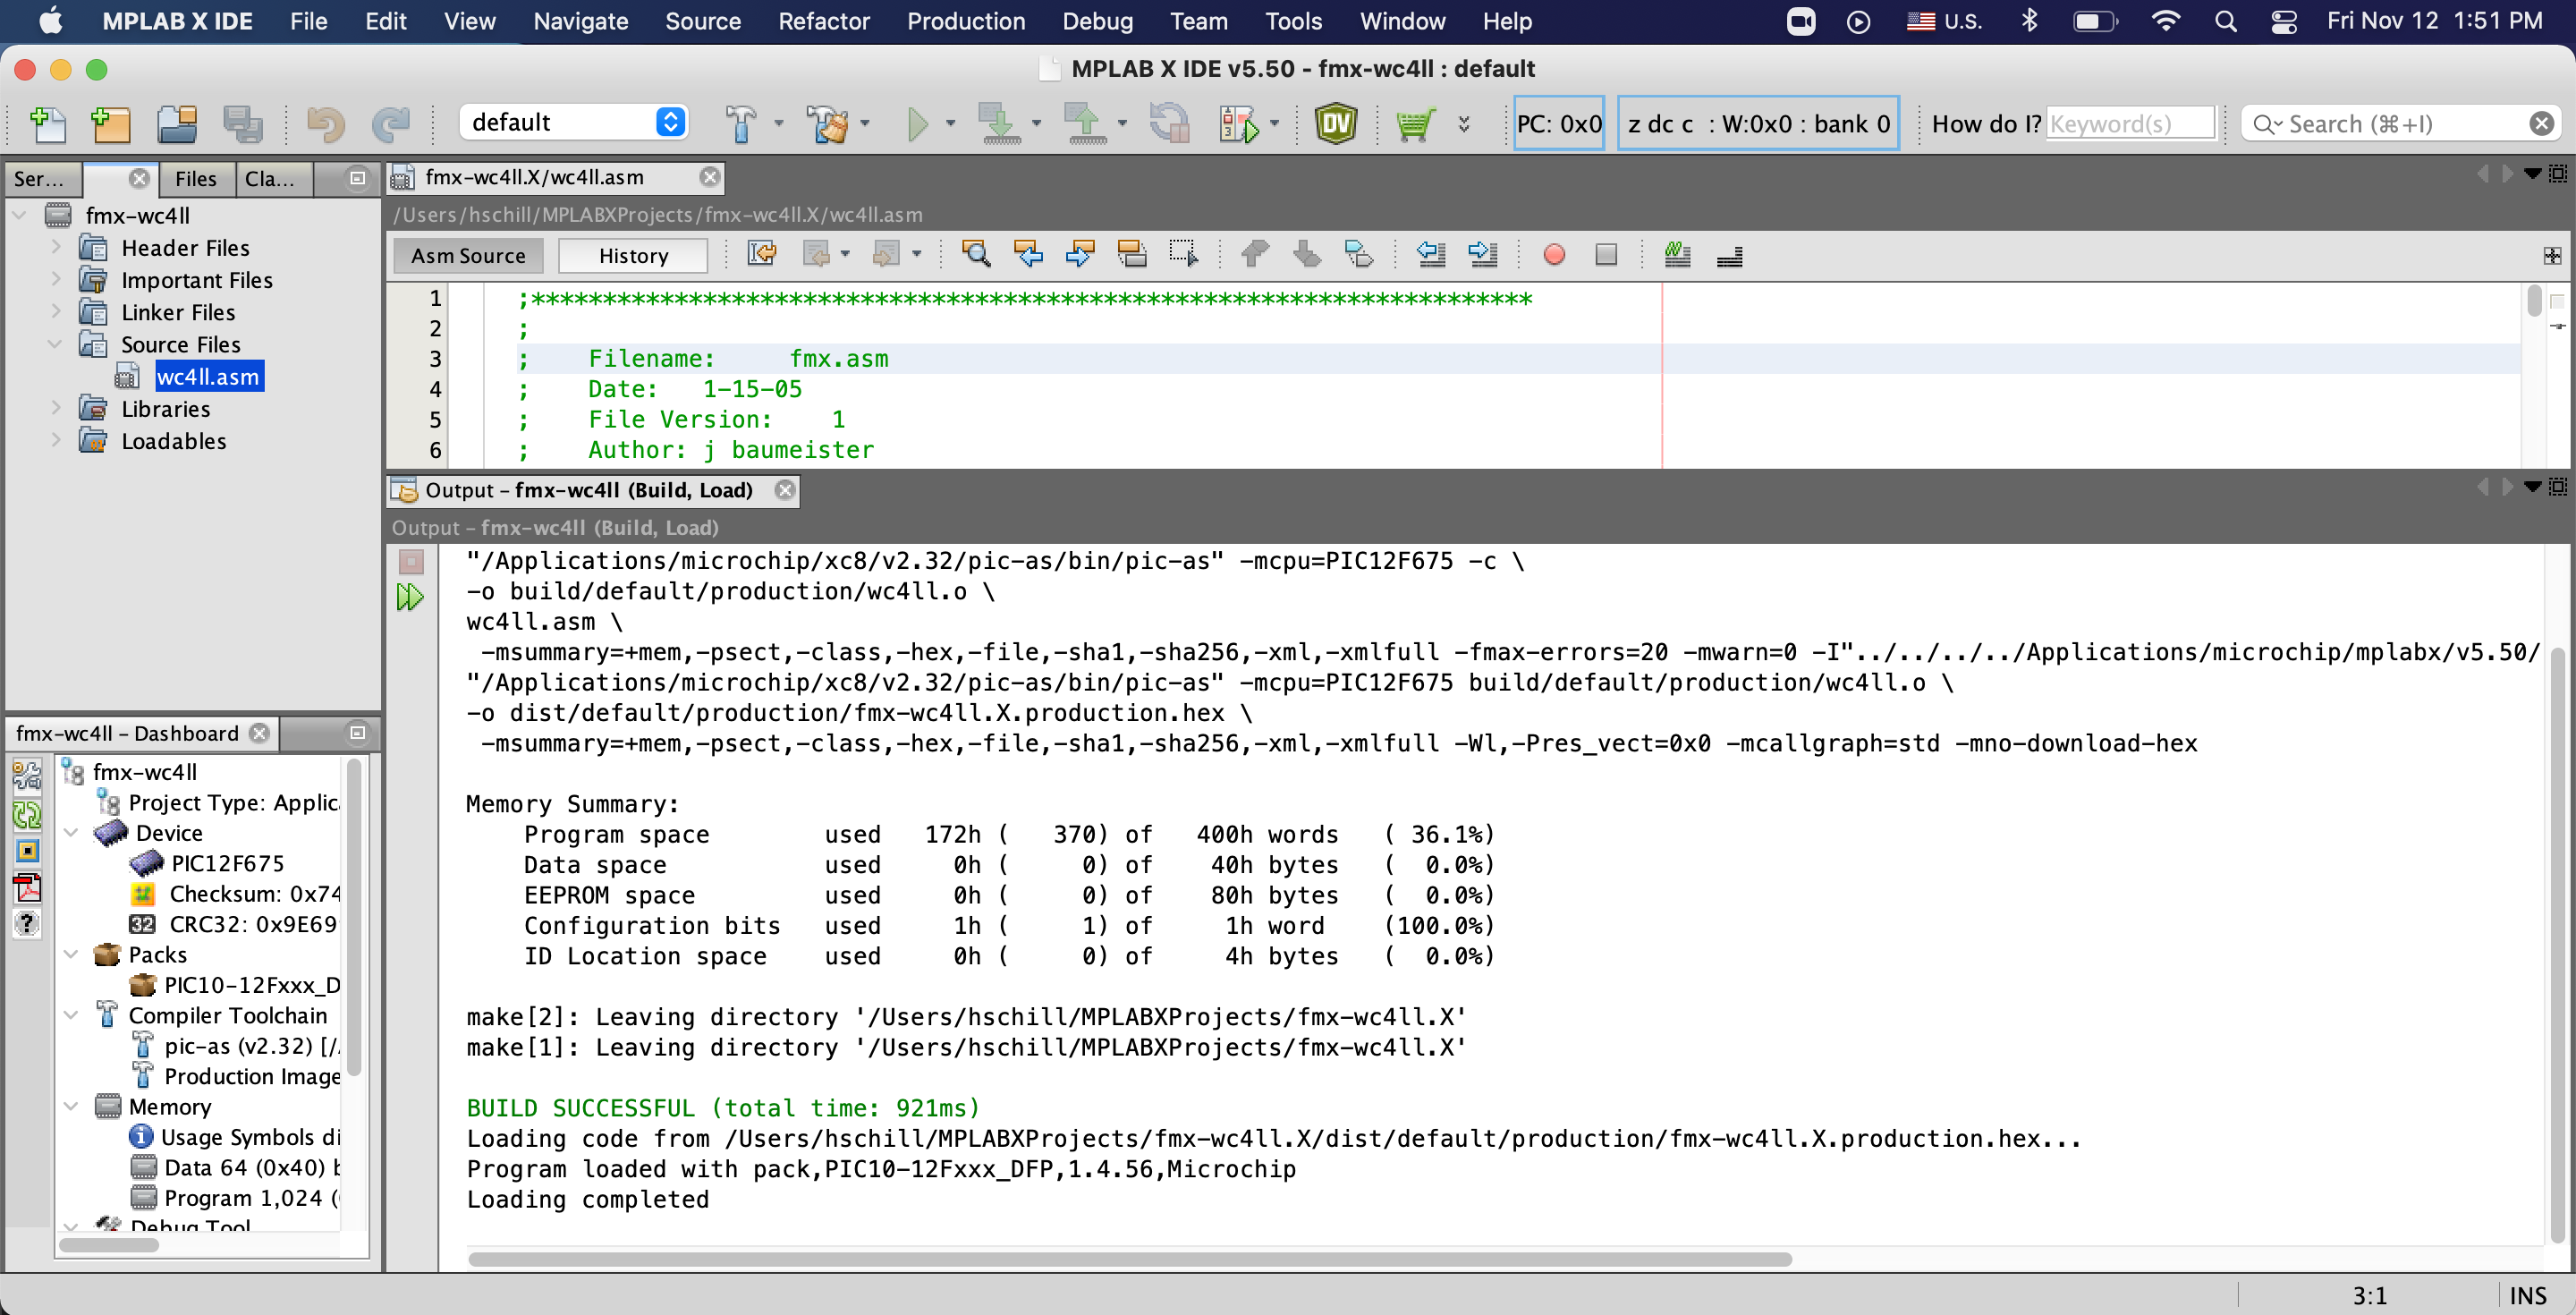
Now compile the code by clicking on the hammer icon |
|
|
You can find the hex file inside your home directory at MPLABXProjects/fmx-<YOUR_CALL>.X/dist/default/production The file name will be fmx-<YOUR_CALL>.X.production.hex |
|
| Now write the hex file to the PIC12F675 chip | |